What Are Minecraft Mods?
Minecraft mods, short for modifications, are player-created modifications or additions to the original Minecraft game. They are created by the passionate Minecraft community and offer a wide range of new content, features, and gameplay mechanics that enhance and personalize the Minecraft experience.
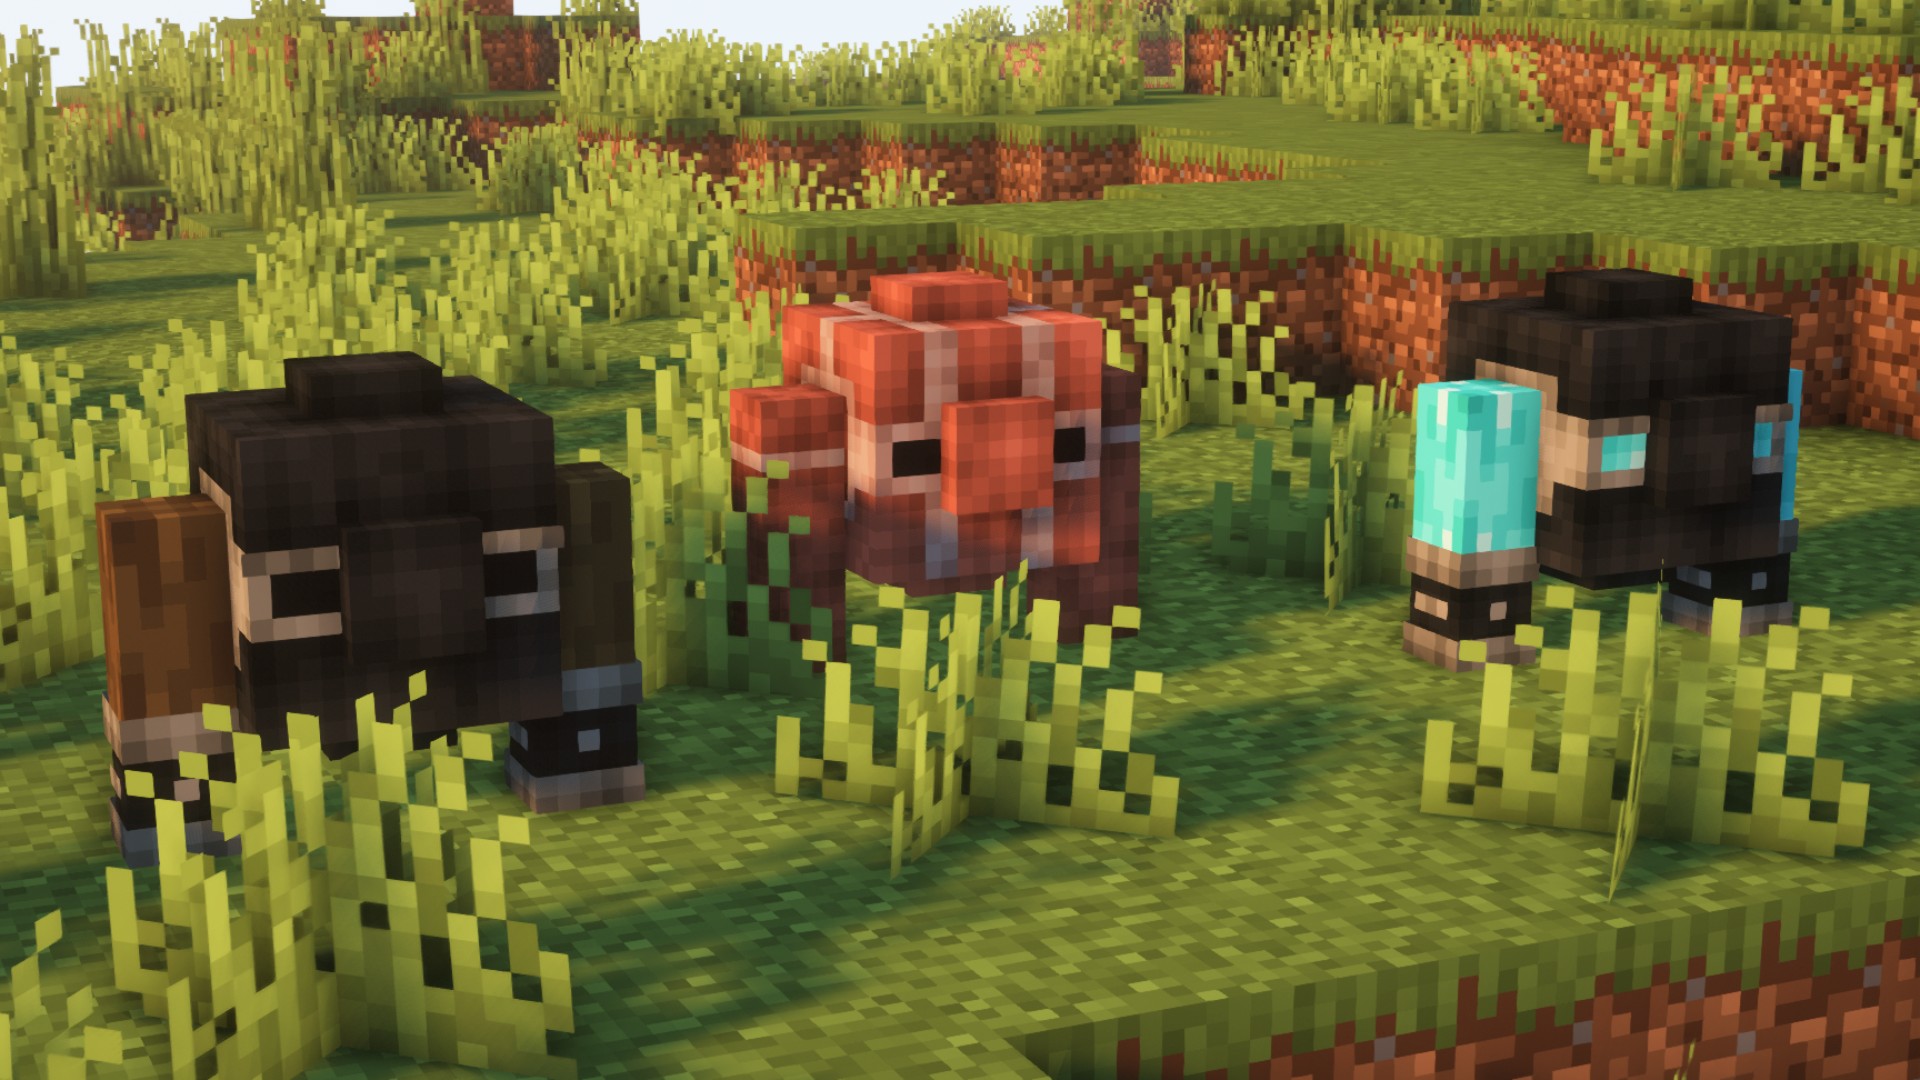
Mods can introduce new blocks, items, tools, and weapons, expanding the available options for building and crafting within the game. They can also introduce new creatures, mobs, and NPCs, adding life and diversity to the Minecraft world. From dragons and mythical creatures to friendly villagers and helpful companions, mods bring a host of new characters to interact with.
Furthermore, mods can introduce new dimensions or worlds, providing unique and immersive environments to explore. These dimensions may be filled with new biomes, structures, and challenges, offering a fresh and exciting experience for players.
In addition to content additions, mods can also modify gameplay mechanics and introduce new features. They can enhance the game’s user interface, improve performance, or introduce new gameplay systems, such as magic spells, technology systems, or advanced farming mechanics. Mods can also introduce new quests, objectives, or progression systems, adding depth and complexity to the gameplay experience.
One of the most appealing aspects of Minecraft mods is their versatility and flexibility. Players can choose from a vast selection of mods that cater to their specific preferences and playstyles. Whether you’re looking to create a challenging survival experience, embark on epic adventures, or unleash your creativity with building and design, there are mods available to suit every taste.
To access mods, players typically utilize mod loaders or modding platforms such as Forge, Fabric, or Rift. These loaders provide the necessary framework to install, manage, and load mods into the Minecraft game. They ensure compatibility between mods and the Minecraft version you’re playing, allowing for a smooth and stable modding experience.
Overall, Minecraft mods offer an incredible opportunity to tailor the game to your liking, expand the gameplay possibilities, and embark on new and exciting adventures within the beloved Minecraft universe. With the vibrant and creative modding community continuously developing new mods, there’s always something fresh and innovative to discover and enjoy.
What Do You Need Before Installing Minecraft Mods?
Before installing Minecraft mods, there are a few key elements you should have in place to ensure a smooth and successful modding experience. Here’s a list of things you’ll need:
- A Minecraft Account: To install and play Minecraft mods, you’ll need a valid Minecraft account. This account allows you to access the official Minecraft launcher and download the necessary files for modding.
- Minecraft Game Installation: Make sure you have Minecraft installed on your computer or gaming device. Mods are installed into the Minecraft game directory, so having the base game installed is essential.
- Minecraft Version: Ensure that you know which version of Minecraft you are using. Mods are specific to particular Minecraft versions, so it’s crucial to match the mod version with your Minecraft version to ensure compatibility.
- Mod Loader: You will need a mod loader to integrate mods into Minecraft smoothly. Mod loaders act as frameworks that manage and load mods into the game. Popular mod loaders include Forge, Fabric, and Rift. Choose a mod loader that is compatible with your Minecraft version and fits your modding needs.
- Mod Source: Determine where you’ll be obtaining your mods from. There are various sources available, such as official modding websites, dedicated Minecraft forums, and curated mod repositories. It’s important to download mods from trusted sources to ensure their authenticity and reduce the risk of malware or compatibility issues.
- Mod Compatibility: Check the compatibility of the mods you wish to install. Mods often have specific requirements or dependencies, such as other mods or libraries. Ensure that the mods you select are compatible with your Minecraft version and any other mods you plan to install.
- Backup: It’s highly recommended to create a backup of your Minecraft game files before installing any mods. This ensures that you can revert to the original game state if any issues arise during the modding process.
By having these elements in place, you’ll be well-prepared to begin installing mods and customizing your Minecraft experience. Remember to follow the specific instructions provided by the mod loader and mod creators to ensure a successful installation and minimize any potential conflicts.
How to Install Minecraft Mods Manually
Installing Minecraft mods manually involves a few steps to ensure that the mods are correctly integrated into the game. Here is a general guide on how to install mods manually:
- Locate the Minecraft Game Directory: Find the folder where Minecraft is installed on your computer. The location of the game directory depends on your operating system:
- For Windows: Open File Explorer and enter “%appdata%” in the address bar. Then navigate to the “.minecraft” folder.
- For macOS: Open Finder, click on “Go” in the menu bar, select “Go to Folder,” and enter “~/Library/Application Support/minecraft”.
- For Linux: The Minecraft directory is typically located at “~/.minecraft”.
- Create a “Mods” Folder: Inside the Minecraft game directory, create a new folder called “mods” (if it doesn’t already exist). This is where you will place the mod files.
- Download the Mods: Obtain the mod files from a trusted source. Make sure to download mods that are compatible with your Minecraft version and any other mods you plan to use.
- Install the Mods: Move the downloaded mod files (usually in the form of JAR or ZIP files) into the “mods” folder you created in Step 2. Be cautious not to extract or unzip the mod files; they should remain in their original format.
- Check Mod Dependencies: Some mods require additional dependencies or libraries to function properly. If the mod you are installing has any dependencies, ensure that you download and install them as well. Check the mod’s documentation or download page for any specific instructions.
- Launch Minecraft: Start the Minecraft launcher and select the Minecraft profile that you want to use with the mods. Make sure the profile corresponds to the Minecraft version compatible with your installed mods.
- Verify Mod Installation: Once Minecraft launches, go to the “Mods” section in the main menu. You should see a list of the installed mods. If the mods appear in the list, it means they were successfully installed.
- Play with Mods: Select the modded profile and start playing Minecraft with the installed mods. The mods should now be active and integrated into your gameplay.
Remember, the process may vary slightly depending on the mod loader you are using, so always refer to the specific instructions provided by the mod loader and the mod itself. Additionally, ensure that you are using mods from trusted sources to avoid any security risks or compatibility issues.
Conclusion!
In conclusion, installing Minecraft mods manually allows you to customize and enhance your Minecraft experience by introducing new content, features, and gameplay mechanics. By following the steps outlined above, you can successfully integrate mods into your Minecraft game.
Before installing mods manually, it’s important to have a Minecraft account, the Minecraft game installed on your computer, and a clear understanding of your Minecraft version.


