
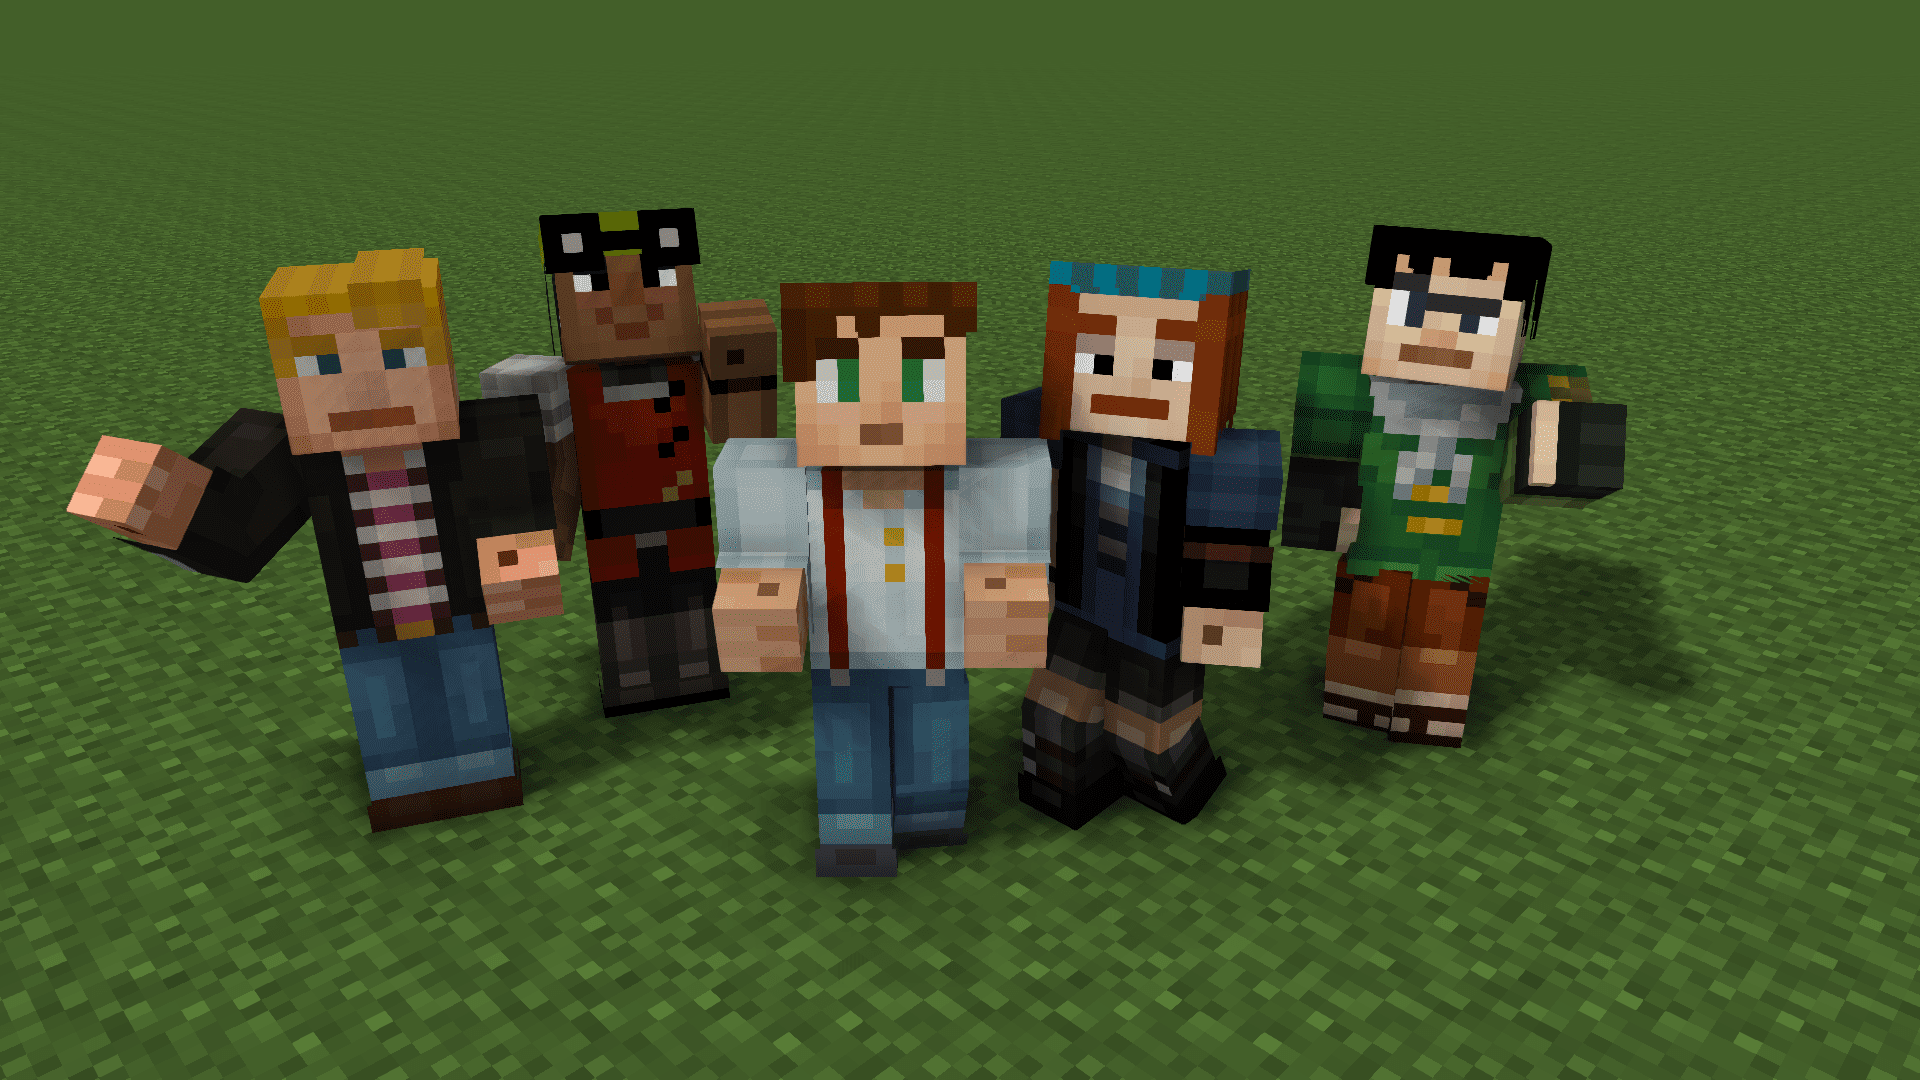
In the vast and blocky universe of Minecraft, players have the opportunity to customize their in-game avatar through skins. These skins allow you to transform the appearance of your character, expressing your individuality and creativity.
If you’re looking to change your Minecraft skin and give your avatar a fresh new look, you’ve come to the right place. In this concise guide, we will provide you with a step-by-step process to modify your Minecraft skin effortlessly.
Whether you’re a seasoned player or just starting your Minecraft journey, altering your skin is a simple and exciting way to stand out from the crowd. With countless options available, you can choose from a wide range of pre-made skins or even create your own.
By following our easy-to-understand instructions, you’ll be able to personalize your Minecraft character and explore the virtual world in a style that reflects your unique personality. Get ready to transform your appearance and embark on new adventures with a brand-new Minecraft skin!
1. What is Minecraft Skin?
A Minecraft skin refers to the visual representation or texture that covers the player character, also known as the avatar, in the popular sandbox game Minecraft. It determines the appearance of the player in the game world. Minecraft skins allow players to customize their character’s appearance by changing its texture, colors, and overall design.
A skin typically consists of two-dimensional images or textures that are applied to the character model. The character model itself remains the same, but the skin overlay provides a unique and personalized look. Skins can range from simple alterations of the default Minecraft character to intricate designs featuring various themes, such as superheroes, animals, fictional characters, and more.
Minecraft skins can be obtained from various sources, including the official Minecraft Skin Library, third-party skin websites, and user-created skin communities. Players can choose to use pre-made skins created by others or even design their own using image editing software. Changing your Minecraft skin is a fun way to express your creativity and make your character stand out in the virtual world of Minecraft.
2. Understanding Minecraft Skins
Minecraft skins are an integral part of the customization options available to players in the sandbox game Minecraft. Skins serve as the visual representation of a player’s character, allowing them to personalize and modify their avatar’s appearance.
In Minecraft, the default player character, often referred to as “Steve” or “Alex,” has a distinct look with blocky features and a simple design. However, players have the ability to change this default appearance by applying different skins to their character.
A Minecraft skin consists of a texture file that determines the visual details of the character model. The skin file uses a specific format, typically a PNG image, that overlays onto the character model, giving it a unique appearance. The skin texture includes different sections representing various parts of the character, such as the head, body, arms, and legs. By modifying the skin texture, players can alter the colors, patterns, and overall design of their avatar.
Players can obtain Minecraft skins from multiple sources. The official Minecraft Skin Library provides a wide range of pre-made skins that players can choose from. Additionally, there are numerous third-party websites and skin communities where players can find and download custom skins created by other players. Some players even create their own skins using image editing software, allowing for limitless possibilities in terms of design and creativity.
Changing a Minecraft skin is a relatively simple process, involving uploading the skin file to the player’s Minecraft account or game profile. Once applied, the new skin will be visible to the player and other players in multiplayer mode, allowing for personal expression and differentiation in the Minecraft world.
3. Preparing Your Minecraft Account
Preparing your Minecraft account is an essential step before you can change your Minecraft skin. Here are the key steps to prepare your Minecraft account:
Creating a Minecraft Account:
If you don’t already have a Minecraft account, you’ll need to create one. Visit the official Minecraft website and click on the “Sign Up” or “Get Minecraft” button. Follow the prompts to create your account by providing a valid email address, creating a username, and setting a secure password.
Purchasing the Game:
Minecraft offers different editions, including Java Edition and Bedrock Edition. Decide which edition you want to play and purchase it from the official Minecraft website or through authorized retailers. Java Edition is available for PC, Mac, and Linux, while Bedrock Edition is available for various platforms such as Windows 10, Xbox, PlayStation, Nintendo Switch, and mobile devices.
Minecraft Editions and Skins Compatibility:
It’s important to note that Minecraft skins are not universally compatible across different editions. Java Edition uses a different skin format than Bedrock Edition. Ensure that you have the correct edition for the desired skin compatibility. Additionally, some platforms have restrictions or additional steps for changing skins, so be aware of any specific requirements for your chosen edition.
4. Exploring Minecraft Skin Sources
When it comes to finding Minecraft skins, there are several sources you can explore to discover a wide range of options. Here are the main sources for Minecraft skins:
Official Minecraft Skin Library:
The official Minecraft website hosts a vast collection of skins in their Skin Library. You can access this library directly from the Minecraft website or within the game itself.
The Skin Library offers a variety of pre-made skins that you can browse and choose from. These skins are created by the Minecraft community and curated by Mojang, the company behind Minecraft. You can filter the skins by categories, such as Popular, New, or Most Downloads, to find the ones that appeal to you.
Third-Party Skin Websites:
There are numerous third-party websites dedicated to Minecraft skins. These websites often have a larger selection of skins to choose from compared to the official Skin Library. Some popular skin websites include Planet Minecraft, Minecraft Skins, and NameMC.
These platforms allow users to upload and share their custom skins, providing a diverse range of options. You can search for specific themes, styles, or characters to find the perfect skin for your Minecraft avatar. Make sure to download skins from trusted sources to ensure they are safe and of good quality.
User-Created Skin Communities:
Minecraft has a vibrant community of players who create and share their skins. Online communities, forums, and social media platforms such as Reddit, Minecraft forums, and Minecraft-themed Discord servers are excellent places to discover unique and creative skins.
Engaging with these communities allows you to connect with fellow Minecraft enthusiasts, get inspired by their creations, and even request custom skins from talented skin designers.
5. Changing Your Minecraft Skin in Java Edition
Changing your Minecraft skin in Java Edition is a straightforward process. Follow these step-by-step instructions to modify your Minecraft skin:
Accessing the Minecraft Profile Page:
Start by visiting the official Minecraft website (minecraft.net) and log in to your Minecraft account using your registered email address and password. Once logged in, click on your profile name in the top right corner of the website to access your account settings.
Uploading and Applying a New Skin:
On your profile page, locate the “Skin” section. Here, you will have the option to choose a new skin for your character. You can either select a pre-made skin from the official Skin Library or upload a custom skin file from your computer.
To choose a pre-made skin from the Skin Library, click on the “Browse” button or browse through the available skins. Find the skin you like, click on it to select it, and then click the “Upload” button to apply the skin to your character. The changes will take effect the next time you log in to the game.
If you want to use a custom skin from your computer, click on the “Choose File” or “Browse” button (depending on the website version) and locate the skin file on your computer. Ensure that the skin file is in the correct format (PNG file with dimensions of 64×32 pixels). Once you’ve selected the file, click the “Upload” button to apply the custom skin to your character.
Troubleshooting Common Issues:
If you encounter any issues with the skin not displaying correctly in the game, ensure that the skin file meets the specifications mentioned above. Additionally, double-check that you have properly applied and saved the changes on your Minecraft profile page. Clearing your browser cache or restarting Minecraft might also help in resolving any visibility issues.
Enjoy Your New Skin:
Launch Minecraft Java Edition and log in with your Minecraft account. Your character will now appear with the newly applied skin. You can show off your customized avatar in single-player mode or multiplayer servers and enjoy your personalized Minecraft experience.
6. Changing Your Minecraft Skin in Bedrock Edition
Changing your Minecraft skin in Bedrock Edition, which includes platforms such as Windows 10, Xbox, PlayStation, Nintendo Switch, and mobile devices, involves a slightly different process compared to Java Edition. Here’s a step-by-step guide to changing your Minecraft skin in Bedrock Edition:
Navigating to the Minecraft Profile:
Launch the Minecraft game on your Bedrock Edition platform and sign in to your Minecraft account.
Accessing the Character Creator:
Once you’re in the game’s main menu, navigate to the “Settings” or “Options” menu. Look for a section called “Profile” or “Character Creator.” Click on it to access the character customization options.
Modifying the Skin on Minecraft Bedrock:
In the Character Creator, you’ll find different tabs for modifying various aspects of your character, including the skin. Click on the “Skins” tab to view the available skin options.
Choosing a Pre-made Skin:
Browse through the pre-made skins provided in the Character Creator. These skins are categorized into different themes, such as Fantasy, Adventure, or Modern. Select the skin you like by clicking on it.
Uploading a Custom Skin:
If you want to use a custom skin, look for the “Custom” or “Owned” tab in the Character Creator. Here, you can upload your own skin by selecting the “Choose New Skin” or “Upload Skin” option. Locate the skin file on your device and confirm the selection to apply the custom skin to your character.
Syncing Skins Across Devices:
Bedrock Edition allows you to sync your custom skins across different devices using a Microsoft account. If you’re playing Minecraft on multiple platforms, ensure that you’re signed in with the same Microsoft account to maintain consistency in your chosen skin.
Save and Apply Changes:
After selecting or uploading your desired skin, save the changes in the Character Creator. The updated skin will be applied to your character immediately.
Enjoy Your New Skin:
Start a new game or join a multiplayer session to see your character with the new skin. Your customized skin will now be visible to other players as well.
7. Customizing Your Minecraft Skin
Customizing your Minecraft skin allows you to add personal touches, modify existing skins, or even create your own unique designs. Here are some methods for customizing your Minecraft skin:
Editing Skins Using Image Editing Software:
To make detailed modifications or create a custom skin from scratch, you can use image editing software such as Adobe Photoshop, GIMP, or Paint.NET. These tools allow you to edit the skin’s texture file pixel by pixel, giving you complete control over the design. You can change colors, add patterns, adjust shading, and more.
Adding Accessories and Personal Touches:
One way to customize your skin is by adding accessories or extra details to your character’s appearance. You can incorporate hats, glasses, capes, jewelry, or any other accessories that match your desired style. Use image editing software to draw or import these elements onto the skin, ensuring they align with the correct areas of the character model.
Importing Custom Skins to Minecraft:
If you have downloaded custom skins from third-party websites or created your own using image editing software, you can import them into Minecraft. In both Java Edition and Bedrock Edition, go to the game’s profile or character customization settings, locate the “Choose New Skin” or “Upload Skin” option, and select the custom skin file from your device.
Utilizing Skin Editing Tools:
Several online tools and applications are specifically designed for Minecraft skin editing. These tools provide a user-friendly interface that simplifies the process of customizing skins without requiring advanced image editing skills. Examples of such tools include NovaSkin, Skindex’s Minecraft Skin Editor, and Minecraft SkinEdit. These tools often offer pre-made templates, brushes, and various editing options to help you create unique skins easily.
Exploring Skin Templates and Resources:
If you’re new to skin customization or seeking inspiration, you can find skin templates and resources online. These resources provide pre-made templates with labeled sections representing different parts of the character model, making it easier for you to design and apply your modifications. Minecraft skin communities and forums often share templates, tutorials, and tips for creating and customizing skins.
In Conclusion
Minecraft skin is a fantastic way to personalize your in-game character and express your creativity. Whether you’re looking to modify an existing skin, create a custom design, or add unique accessories, there are various methods and resources available to help you achieve the desired look.
By using image editing software, you have the flexibility to make intricate modifications, adjust colors, and add intricate details to your Minecraft skin. This option is ideal for those who have a specific vision in mind or want to create a completely original design.
For those who prefer a more user-friendly approach, skin editing tools and online resources provide convenient platforms to customize your skin without requiring advanced image editing skills. These tools often offer pre-made templates, brushes, and editing options, allowing you to experiment and make changes effortlessly.


