
In the expansive realm of Minecraft, where creativity knows no bounds and exploration is endless, survival is a central theme that introduces players to a world brimming with resource-gathering challenges. One such crucial resource is wheat – a fundamental ingredient for sustenance and crafting. Understanding the process of obtaining wheat is vital for ensuring your avatar’s survival, as it forms the cornerstone of the game’s agricultural system.
Wheat, a staple crop in Minecraft, serves multiple purposes. It can be crafted into bread, a nourishing food source that replenishes health points, making it essential for players who wish to venture deep into the game’s challenging terrains. Additionally, wheat is a critical component in breeding animals, a key aspect of establishing a sustainable farm and expanding your virtual homestead.
To obtain wheat, players must engage in the art of farming, a skill that mirrors real-world agriculture. The process commences with the collection of seeds. These seeds can be found by breaking tall grass, which occasionally yields wheat seeds. Once in possession of these seeds, the next step is to create an appropriate farmland plot using a hoe, a basic tool crafted from wood, stone, iron, or diamond. By tilling the soil, players prepare it for seed planting.
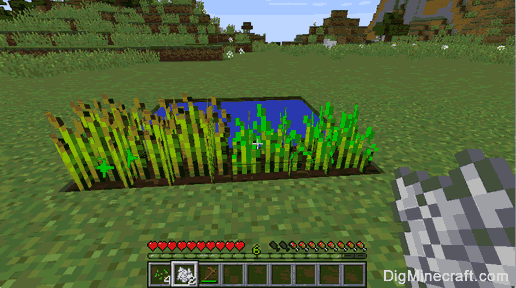
After preparing the land, it’s time to plant the wheat seeds. Simply right-click or left-trigger the prepared soil with the seeds in hand to plant them. As time progresses, the seeds will undergo several growth stages before reaching full maturity. It’s crucial to be patient during this process, as growth occurs gradually. Adequate sources of light and hydration are essential for promoting efficient growth.
When the wheat reaches maturity, it will transform into a golden hue and stand tall, ready for harvest. Players can then use any tool, such as their hands or a specialized tool like a scythe, to harvest the mature wheat. The harvested wheat appears in the player’s inventory, ready for consumption or further crafting.
Mastering the art of obtaining wheat in Minecraft is a foundational skill that every player should acquire. By understanding the process of planting, cultivating, and harvesting wheat, players can ensure a steady food supply, as well as facilitate the growth of their virtual world. As you delve into the intricacies of wheat farming, you’ll not only ensure your survival but also gain a deeper appreciation for the complexities of sustaining life within the immersive realm of Minecraft.
How Can Grow a Wheat Farm in Minecraft
Growing a successful wheat farm in Minecraft requires careful planning, proper execution, and a bit of patience. Here’s a step-by-step guide to help you establish and maintain a thriving wheat farm:
1. Gather Resources:
- Collect seeds by breaking tall grass. Seeds are dropped occasionally when breaking the grass blocks.
- Acquire a hoe to till the soil. You can craft a wooden hoe using sticks and planks, and upgrade it to higher-tier hoes using materials like stone, iron, or diamond.
2. Prepare the Farmland:
- Choose a suitable location for your farm. Ideally, it should have sufficient space and access to water for irrigation.
- Use the hoe to till the dirt blocks in your chosen area. Right-click (or left-trigger) on each block until it transforms into farmland. Farmland is required for planting seeds.
3. Planting Seeds:
- Equip the seeds in your hand and right-click (or left-trigger) on the tilled farmland blocks to plant the seeds. Each seed block will yield one wheat when fully grown.
4. Provide Light and Water:
- Ensure your farm area is well-lit to prevent hostile mobs from spawning and trampling your crops.
- If possible, set up a water source nearby. Farmland with access to water within a 4-block radius will hydrate the soil, allowing crops to grow faster.
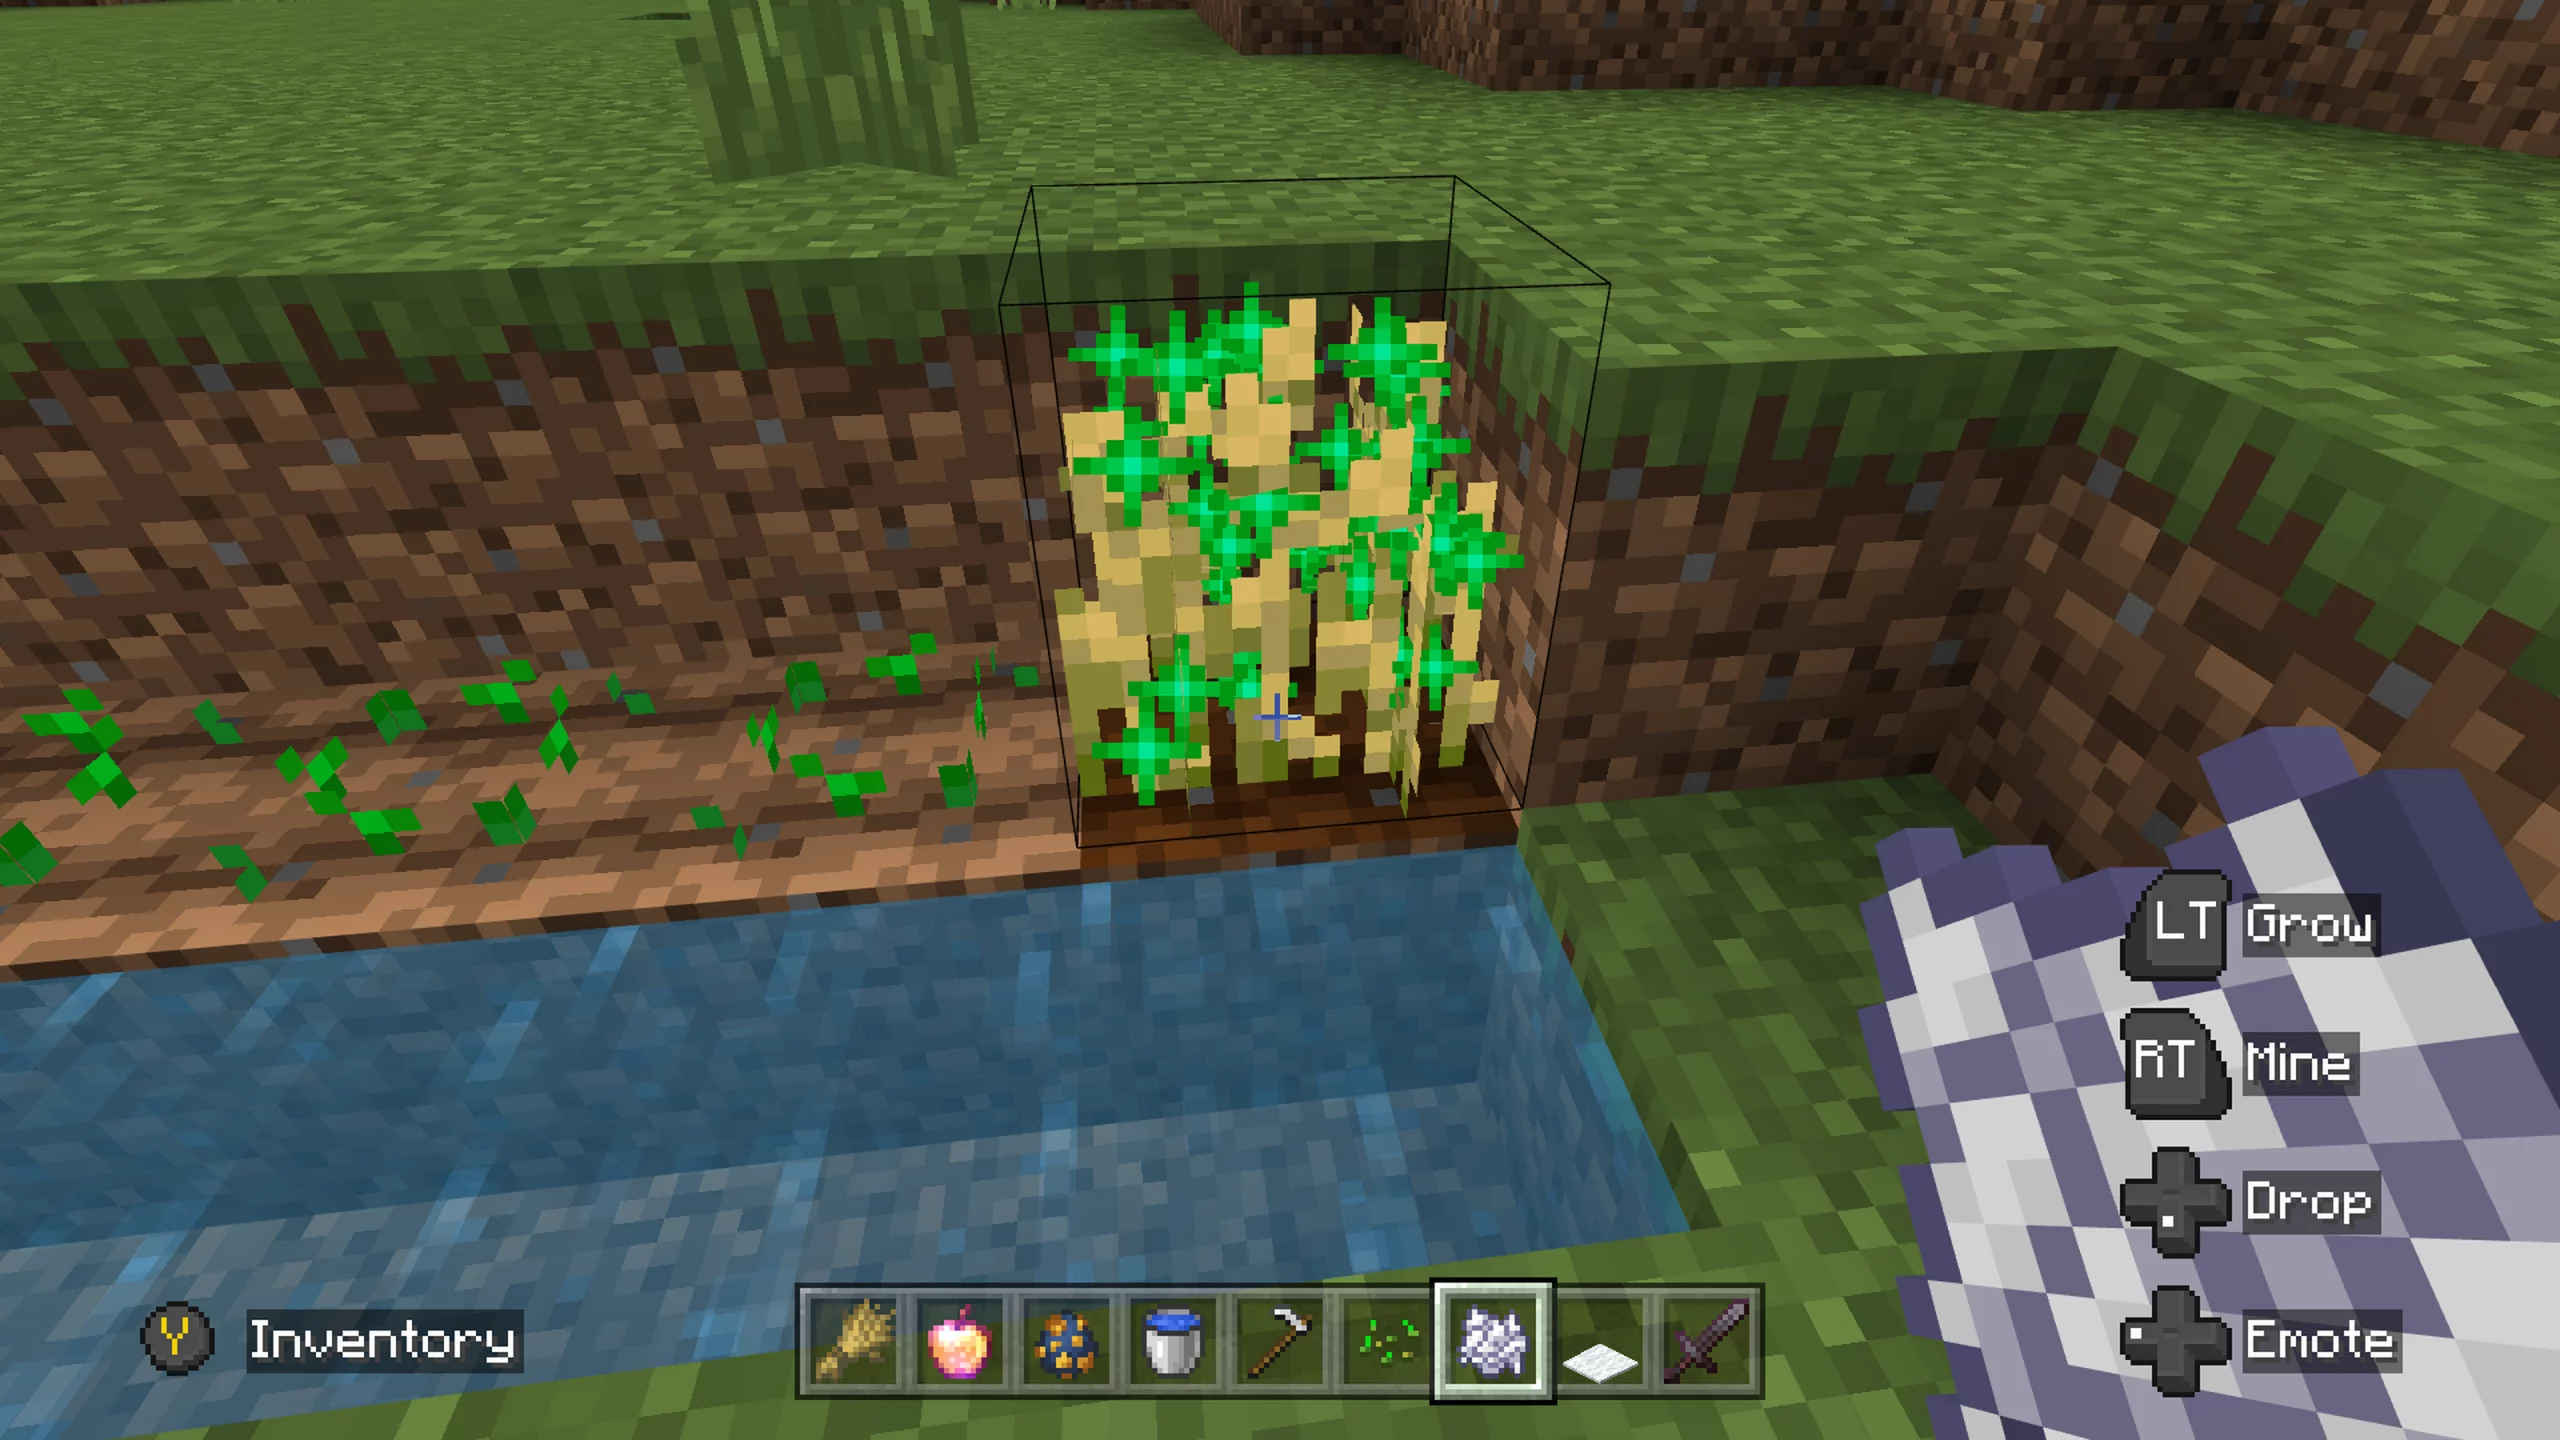
5. Be Patient:
- Wheat goes through several growth stages before becoming fully mature. It takes around 1 to 3 Minecraft days (20 to 60 minutes) for wheat to grow from planting to maturity.
- During this time, the wheat will gradually change color and height.
6. Harvesting:
- Once the wheat reaches full maturity, it will have a golden hue and be the tallest among the other stages.
- Use your hand or a tool to break the mature wheat. It will drop wheat items and sometimes additional seeds.
- Collect the harvested wheat by walking over it, or use tools with the Fortune enchantment to increase the yield.
7. Replanting:
- After harvesting, make sure to replant seeds in the same tilled farmland. This keeps the farm cycle going and ensures a continuous wheat supply.
8. Expansion and Automation:
- To expand your wheat farm, replicate the planting and harvesting process in adjacent plots of tilled farmland.
- For more advanced players, consider automating your farm using mechanisms like water streams and redstone devices to collect dropped items.
By following these steps and providing consistent care to your wheat farm, you’ll be able to grow a bountiful supply of wheat in Minecraft. This resource will serve as a foundation for crafting bread, breeding animals, and sustaining your character’s health and hunger as you continue your adventures within the game.
Where to Grow Wheat in Minecraft?
In Minecraft, you can grow wheat in any biome that has suitable conditions for farming. Here are the key considerations for choosing a location to grow wheat:
1. Open Space: Look for areas with ample open space where you can dedicate a plot of land to your wheat farm. Avoid cramped spaces or areas cluttered with terrain features that might obstruct your farm’s expansion.
2. Adequate Light: Wheat requires light to grow. Ensure that your chosen location receives sufficient sunlight during the day to prevent the growth of hostile mobs and promote crop growth.
3. Access to Water: While not strictly necessary, having access to water near your farm can speed up the growth process. Farmland that is within a 4-block radius of water will remain hydrated and allow crops to grow faster.
4. Avoid Mobs and Trampling: To prevent hostile mobs from spawning and trampling your crops, consider locating your farm in well-lit and secure areas. Avoid placing your farm too close to caves or dark areas where mobs can emerge.
5. Farming Biomes: Some biomes are more suitable for farming due to their naturally flat terrain and lush vegetation. Biomes like plains, savannas, and villages often provide good conditions for establishing farms.
6. Convenience: Choose a location that is convenient for you to access. If your base or home is nearby, it will be easier to tend to your farm regularly.
7. Expansion Potential: Pick a location where you can easily expand your wheat farm as needed. As you progress in the game, you’ll likely want to increase your crop production, so having room to expand is essential.
8. Aesthetics: While not a gameplay requirement, you might want to consider the visual appeal of your farm’s location. You can integrate your wheat farm into the landscape or build decorative structures around it.
9. Climate: The biome’s climate may affect the frequency of rainfall, which can naturally hydrate your crops. Biomes with more rainfall might require less attention to irrigation.
You can grow wheat in a variety of biomes in Minecraft, as long as you create the right conditions for its growth. Pay attention to factors like light, water, space, and security when choosing a location for your wheat farm. With careful planning and tending, you’ll be able to cultivate a flourishing wheat crop to sustain your character’s needs and crafting endeavors.
What to Do with Wheat in Minecraft?
Wheat is a versatile resource in Minecraft that serves several essential purposes. Here’s what you can do with wheat in the game:
1. Crafting Bread: Wheat is a crucial ingredient for crafting bread, which is a primary food source in Minecraft. To craft bread, simply arrange three wheat items in a horizontal row on the crafting table. Bread restores 2.5 hunger points per piece when consumed, making it an effective way to keep your character’s hunger bar full.
2. Breeding Animals: Wheat is used in the breeding process for various animals, including cows, sheep, pigs, and chickens. By holding wheat in your hand and right-clicking (or left-triggering) on two compatible animals, you can initiate the breeding process. Feeding wheat to baby animals accelerates their growth into adults, allowing you to expand your animal population.
3. Crafting Cake: Cake is a more complex recipe that involves wheat as one of its ingredients. To craft a cake, you’ll need three buckets of milk, two sugar, one egg, and three wheat. Arrange these items in a specific pattern on the crafting table to create a cake. Cake is a decorative food item that can be placed and eaten, restoring 14 hunger points when fully consumed.
4. Trading with Villagers: Some villagers, specifically farmer villagers, may offer trades involving wheat as a trade currency. You can exchange wheat for various items or resources by interacting with villagers and accessing their trading menus.
5. Animal Farming: Beyond breeding, you can use wheat to lead animals around. Holding wheat in your hand and right-clicking on an animal will cause it to follow you. This mechanic can be useful for moving animals to a desired location or into a pen.
6. Trading with Wandering Traders: Occasionally, wandering traders will appear in the game, and they may offer trades involving wheat or other related items. Interacting with wandering traders can provide you with unique items and resources.
7. Crafting Hay Bales: By arranging nine wheat items in a 3×3 crafting grid, you can create a hay bale. Hay bales can be used for decoration or as a building block. They can also be used as a slightly more efficient fuel source in furnaces compared to raw wheat.
Wheat is a resource that plays a vital role in Minecraft’s survival and farming mechanics. By effectively utilizing wheat, you can ensure a steady food supply, breed animals, and engage in various trading and crafting activities, all of which contribute to your success and enjoyment within the game.
Conclusion!
In conclusion, wheat is an indispensable resource in the intricate world of Minecraft, serving as a cornerstone for survival, progression, and creativity. Its versatile applications range from crafting nourishing bread to breeding animals and crafting intricate structures. By mastering the art of cultivating and harvesting wheat, players unlock a world of possibilities, from sustaining their characters’ hunger to establishing thriving farms that facilitate expansion and exploration.
Wheat’s significance extends beyond its practical uses; it embodies the essence of Minecraft’s immersive gameplay, encouraging players to engage with the virtual ecosystem, mimic real-world agricultural practices, and reap the rewards of their diligent efforts. Whether tending to a small garden or cultivating vast fields, the journey of nurturing wheat from seed to harvest encapsulates the sense of achievement and mastery that defines Minecraft’s appeal.


