
Minecraft, the immensely popular sandbox game, offers players a world full of endless possibilities and creative opportunities. One essential tool that players can craft is the anvil. An anvil serves as a crucial asset in the game, enabling players to repair, rename, and combine items to enhance their gameplay experience. Whether you’re a beginner or an experienced Minecraft enthusiast, understanding how to create an anvil is a fundamental skill.
In this comprehensive guide, we will walk you through the step-by-step process of making an anvil in Minecraft. You will learn about the required materials, crafting techniques, and tips for maximizing its utility. So, let’s dive in and uncover the secrets to forging this valuable item!
An anvil is a versatile crafting block that requires specific materials to construct. With an anvil at your disposal, you can repair damaged tools and equipment, change the names of items, and combine enchantments to create powerful weapons and gear. It serves as a cornerstone of efficient gameplay, allowing players to optimize their resources and gear up for exciting adventures.
Minecraft Anvil Crafting Recipe
To create an anvil in Minecraft, you’ll need to gather specific materials and follow a straightforward crafting recipe. Here’s a step-by-step breakdown of the anvil crafting process:
- Gather Iron Ore: Begin by exploring your Minecraft world and mining iron ore. Iron ore can be found underground, usually in caves or ravines. Use a stone pickaxe or higher to mine the iron ore blocks.
- Smelt Iron Ore: Next, smelt the iron ore in a furnace to convert it into iron ingots. To do this, place the iron ore in the top slot of the furnace and fuel (such as coal or wood) in the bottom slot. Wait for the furnace to finish smelting, and you’ll be left with iron ingots.
- Craft the Anvil: Once you have obtained iron ingots, it’s time to craft the anvil. Open your crafting table, which can be done by right-clicking on the table, and arrange the iron ingots in a specific pattern. Place three iron blocks in the top row of the 3×3 crafting grid and four iron ingots in the middle row. Leave the bottom row empty. Once you’ve placed the materials in the correct pattern, the anvil will appear in the result box on the right side of the crafting table.
- Collect the Anvil: Finally, drag the anvil from the result box into your inventory. Congratulations! You have successfully crafted an anvil in Minecraft.
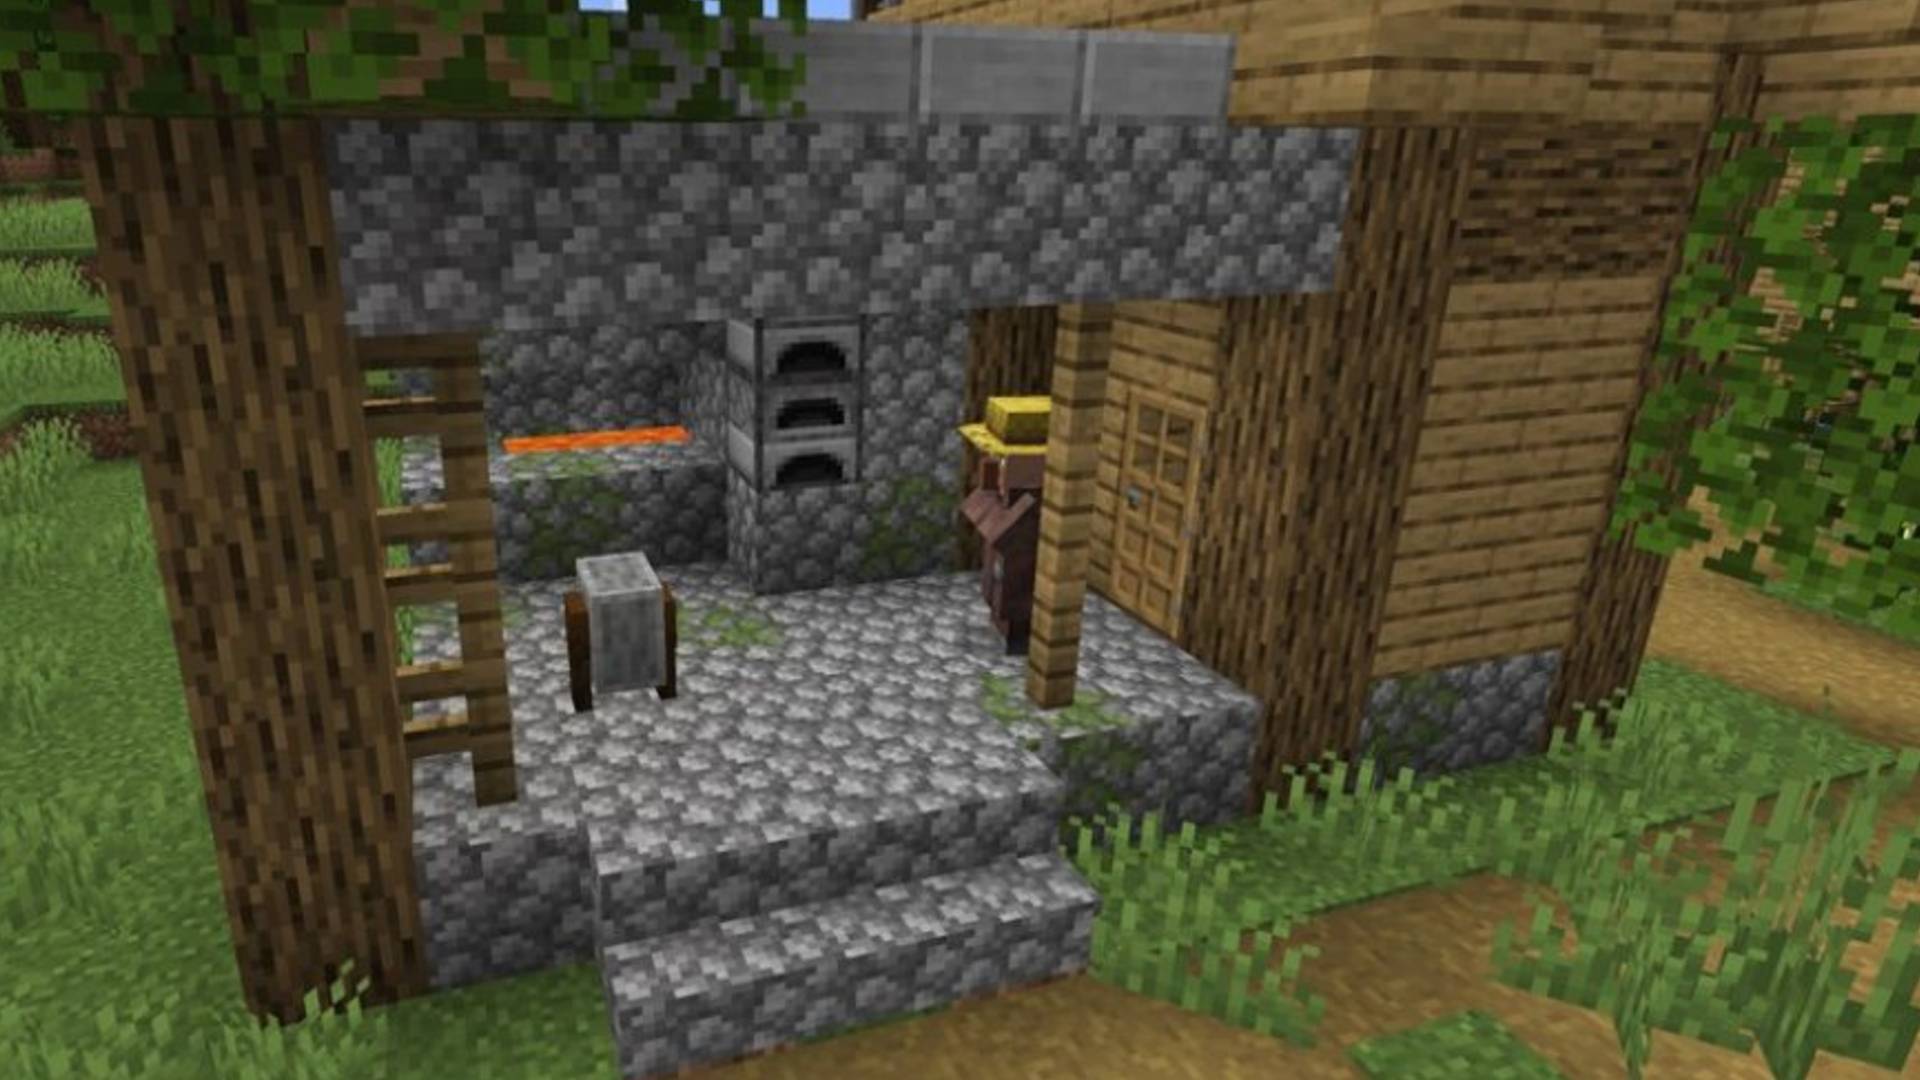
Now that you have an anvil, you can begin utilizing its features, such as repairing tools and equipment, renaming items, and combining enchantments. With this versatile tool at your disposal, your Minecraft adventures are sure to become even more exciting and efficient.
How to Craft an Anvil in Minecraft
Crafting an anvil in Minecraft is a relatively simple process once you have gathered the necessary materials. Here’s a step-by-step guide on how to craft an anvil:
- Gather Iron Ingots: To create an anvil, you’ll need a total of three blocks of iron and four iron ingots. Iron ingots can be obtained by smelting iron ore in a furnace. Mine iron ore using a stone pickaxe or higher, then smelt the ore in a furnace using any fuel source.
- Open the Crafting Table: Once you have acquired the necessary iron ingots, open your crafting table. You can do this by right-clicking on the table or pressing E on your keyboard.
- Arrange the Materials: In the crafting grid, place three blocks of iron in the top row. These blocks will fill the entire row. Then, place one iron ingot in the center box of the middle row. Leave the other two boxes in the middle row empty.
- Retrieve the Anvil: Once you have arranged the materials correctly, an anvil will appear in the result box on the right side of the crafting table. Simply click and drag the anvil into your inventory to collect it.
You have successfully crafted an anvil in Minecraft. You can now place the anvil in your world and use it for various purposes such as repairing damaged items, renaming items, and combining enchantments. Remember to keep an eye on the anvil’s durability and repair it using additional iron ingots when necessary.
With your newly crafted anvil, you can take your Minecraft adventures to the next level and optimize your gameplay experience. Enjoy exploring the countless possibilities that the anvil offers!
Placing and Using the Anvil
Anvils in Minecraft have a limited durability that decreases with each use. It is essential to understand the anvil’s durability and consider certain factors to ensure its longevity and efficient use. Here are some important considerations:
- Anvil Repairs: Over time, the anvil’s durability will decrease as you use it for repairs, renaming, and combining enchantments. When the anvil’s durability reaches its minimum, it will break and become unusable. However, you can repair the anvil by combining it with additional iron ingots. Place the damaged anvil in the crafting grid along with iron ingots to restore its durability. Each iron ingot used for repair will increase the anvil’s durability by a specific amount.
- Prioritize Repairs: It is essential to prioritize repairs for valuable tools and equipment. When using the anvil for repairs, remember that the anvil’s durability is consumed based on the number of materials used for the repair. To optimize the usage of the anvil, focus on repairing essential items before addressing cosmetic changes like renaming or combining enchantments.
- Enchantment Cost: When combining enchantments on the anvil, keep in mind that it consumes experience levels. The experience cost for combining enchantments depends on the number and strength of the enchantments involved. Ensure that you have enough experience points to complete the desired enchantment combination without running out of levels.
- Plan Efficiently: To make the most of your anvil, plan your repairs and enchantment combinations strategically. Consider using lower-cost repairs first before moving on to higher-cost ones. Also, evaluate which items would benefit the most from combining enchantments to maximize their effectiveness.
By considering the anvil’s durability, prioritizing repairs, managing experience levels, and planning efficiently, you can prolong the lifespan of your anvil and make the most out of its functionalities. Keep an eye on its durability and repair it as needed to ensure it remains a valuable tool in your Minecraft adventures.
Anvil Durability and Other Considerations
Anvils in Minecraft have a limited durability, which means they will eventually break after repeated use. Understanding anvil durability and considering other factors will help you make the most of this valuable tool. Here are some important considerations:
-
Anvil Durability: Each time you use the anvil for repairs, renaming, or enchantment combinations, its durability decreases. The durability is represented by the health bar displayed when you hover over the anvil. Once the durability reaches zero, the anvil breaks and cannot be used anymore. To check anvil durability, simply place it in the crafting grid, and the repaired anvil will show its current durability.
-
Anvil Repair: To restore an anvil’s durability and prevent it from breaking, you can repair it using additional iron ingots. Place the damaged anvil in the crafting grid, along with iron ingots, and the repaired anvil will appear. Each iron ingot used for repair restores a portion of the anvil’s durability.
-
Prioritize Repairs: When using the anvil, prioritize repairing essential tools and equipment that you rely on the most. Repairing heavily damaged items will increase their longevity and save valuable resources. Keep track of the anvil’s durability and plan repairs accordingly.
-
Combining Enchantments: Combining enchantments on the anvil consumes the anvil’s durability. It’s important to consider the durability cost before performing enchantment combinations. Ensure that you have enough durability to complete the desired enchantment combinations.
-
Efficiency: To maximize the anvil’s durability, plan your repairs and enchantment combinations efficiently. Combine multiple repairs and enchantments into a single use of the anvil whenever possible. This will help conserve the anvil’s durability and prolong its usefulness.
By carefully managing anvil durability, prioritizing repairs, and efficiently using enchantment combinations, you can make the most of your anvil in Minecraft. With proper care, your anvil will remain a valuable tool for repairing, renaming, and creating powerful items throughout your adventures in the blocky world.
Conclusion
Congratulations! You have now learned how to make an anvil in Minecraft and discovered the various functionalities it offers. The anvil is a valuable tool that allows you to repair damaged items, rename items, and combine enchantments, enhancing your gameplay experience and opening up new possibilities in the Minecraft world.
Crafting an anvil requires gathering iron ingots and following a simple recipe. Once crafted, you can place the anvil in your world and interact with it to repair tools, rename items, and combine enchantments. However, remember that the anvil has limited durability, which decreases with each use. It is crucial to keep an eye on the anvil’s durability, prioritize repairs, and efficiently plan enchantment combinations to prolong its lifespan.
By utilizing the anvil effectively, you can optimize your resources, extend the life of your valuable tools and equipment, and create powerful customized items. Whether you’re a survival mode player seeking to maintain your gear or a creative builder looking to add personal touches to your creations, the anvil is an essential tool for your Minecraft adventures.


