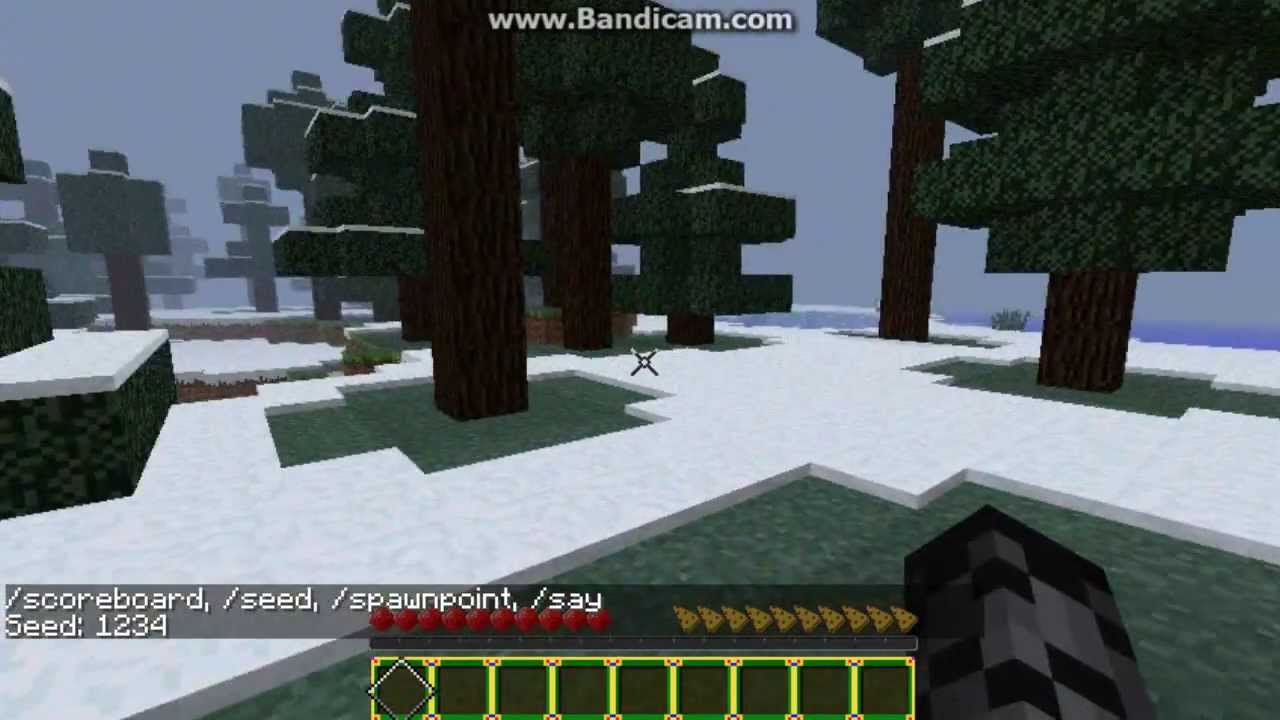
Minecraft, the beloved blocky world of boundless creativity and adventure, offers players an incredible sandbox to explore and shape as they see fit. However, with a vast and sometimes treacherous landscape, it’s essential to understand how to set your spawn point effectively. The spawn point is the designated location where you, as a player, will respawn after meeting an unfortunate demise or starting a new journey within the game.
In the default setting, the spawn point is predetermined at the world’s initial spawn location. While this can be convenient for casual gameplay, seasoned players and creative minds often seek to customize their experience further. Setting your spawn point strategically can open up a plethora of opportunities, ensuring you always return to a specific spot, be it your cozy base, a secret hideout, or a thrilling adventure location.
One common method to set your spawn point is by crafting and using a bed. In Minecraft, a crafted bed provides not only a peaceful place to rest during the night but also an automatic spawn point. Simply placing and interacting with the bed will set your spawn location to that specific spot, safeguarding you from respawning far away from your intended destination.
For those who desire greater control over their spawn points, Minecraft’s command blocks offer a powerful solution. By using commands such as “/spawnpoint,” you can precisely dictate the coordinates of your desired spawn location. This feature proves highly valuable for map creators, server administrators, or those seeking to explore specific regions within their world.
In the Nether, a fiery and dangerous dimension, players can use respawn anchors to set their spawn point. These anchors can be charged with glowstone, and once linked to a specific Nether portal, they determine the respawn location within the Nether realm.
Moreover, the Minecraft community thrives on creativity, and numerous mods and plugins cater to players who crave additional options for managing spawn points. These modifications often unlock advanced features and greater flexibility in customizing spawn mechanics, catering to the diverse preferences of players worldwide.
Understanding how to set your spawn point in Minecraft empowers you to take charge of your adventure, tailoring the game to your liking and optimizing your experience in this wondrous pixelated universe. As you embark on thrilling quests and epic builds, the ability to control your respawn location adds an extra layer of immersion and excitement to the already boundless possibilities of Minecraft. So, venture forth, embrace your creativity, and set your spawn point to make your mark on this captivating digital realm.
How can you set a spawn point in a Minecraft server that applies to Everyone?

To set a spawn point in a Minecraft server that applies to everyone, you need to follow these steps:
1. Set the Spawn Point: As the server administrator or someone with OP (operator) privileges, you can use the /setworldspawn command to set the spawn point for all players on the server. This command will make sure that whenever someone joins the server or dies without a personal spawn point (bed or respawn anchor), they will respawn at the location you’ve specified.
To set the spawn point, follow these steps: a. Open the Minecraft server console or in-game chat if you have OP privileges. b. Type the following command: /setworldspawn x y z, replacing “x,” “y,” and “z” with the coordinates of the desired spawn point location. For example: /setworldspawn 100 64 -200.
2. Notify Players: After setting the world spawn point, it’s essential to notify the players on the server about the new spawn location. You can either inform them through the in-game chat or any server communication platform you use, such as Discord or a website forum. Provide the coordinates or a brief description of the location so that everyone knows where the new spawn point is.
3. Restart the Server: To ensure that the changes take effect for all players, it’s a good idea to restart the Minecraft server. This step is particularly crucial if you have modified the spawn point while the server is running.
4. Reset Individual Spawn Points (Optional): If players have already set their individual spawn points using beds or respawn anchors, those points will take precedence over the server’s spawn point. If you want everyone to use the server’s spawn point exclusively, you can request players to remove their beds or respawn anchors, or use command blocks or plugins to clear individual spawn points.
By following these steps, you can easily set a spawn point on your Minecraft server that applies to everyone. This centralized spawn point can become a focal point for communal activities and gatherings, ensuring that all players start their adventures from a shared location.
1) Install Essentials Plugin

To install the Essentials plugin on your Minecraft server, follow these steps:
- Backup Your Server: Before installing any new plugin, it’s essential to back up your Minecraft server to avoid any potential data loss or issues. Make a copy of your server files and save them in a safe location.
- Download the Essentials Plugin: Go to the official Essentials plugin page and download the latest version of the plugin. Ensure that you are downloading the correct version compatible with your server’s Minecraft version.
- Access Your Server Files: Connect to your server through FTP (File Transfer Protocol) or access your server files using a file manager provided by your hosting provider.
- Locate the “Plugins” Folder: Navigate to the “plugins” folder in your server’s root directory. This is where you’ll install the Essentials plugin.
- Upload the Essentials Plugin: Upload the downloaded Essentials plugin file (usually in a .jar format) into the “plugins” folder.
- Restart Your Server: Once the Essentials plugin is uploaded, restart your Minecraft server to load the new plugin. You can do this via the server console or the control panel provided by your hosting service.
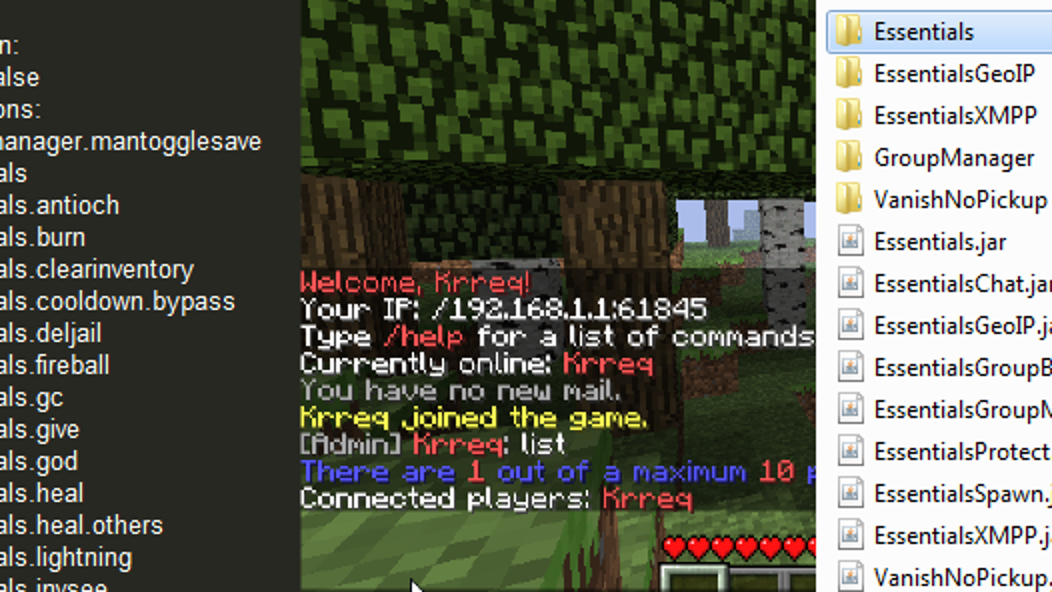
- Configure Essentials (Optional): While the Essentials plugin works with default settings, you can customize its features to suit your server’s needs. Open the “plugins/Essentials” folder, and you’ll find various configuration files that allow you to modify different aspects of the plugin. Edit these files using a text editor if you wish to customize specific features.
- Test the Plugin: After the server restarts, log in to your Minecraft server and check if the Essentials plugin is working correctly. You should now have access to various essential commands and features provided by the plugin.
Remember, the Essentials plugin is one of the most popular and comprehensive plugins available for Minecraft servers. It offers a wide range of commands and features that can enhance the gameplay experience for both players and server administrators. If you encounter any issues during installation or while using the plugin, refer to the official documentation or community forums for support and troubleshooting.
2) Install Essentials Spawn Plugin
here isn’t a separate plugin called “Essentials Spawn.” However, if you want to enhance the spawn area on your Minecraft server using the Essentials plugin, you can customize it by using the EssentialsX plugin, which is an extended version of the original Essentials plugin. The EssentialsX plugin includes spawn-related features and commands.
Here’s how you can set up a spawn point using the EssentialsX plugin:
- Backup Your Server: As always, before installing any plugin, it’s essential to back up your Minecraft server to avoid any potential data loss or issues. Make a copy of your server files and save them in a safe location.
- Download EssentialsX Plugin: Go to the official EssentialsX plugin page and download the latest version of the plugin. Ensure that you download the correct version compatible with your server’s Minecraft version.
- Access Your Server Files: Connect to your server through FTP (File Transfer Protocol) or access your server files using a file manager provided by your hosting provider.
- Locate the “Plugins” Folder: Navigate to the “plugins” folder in your server’s root directory. This is where you’ll install the EssentialsX plugin.
- Upload EssentialsX Plugin: Upload the downloaded EssentialsX plugin file (usually in a .jar format) into the “plugins” folder.
- Restart Your Server: Once the EssentialsX plugin is uploaded, restart your Minecraft server to load the new plugin. You can do this via the server console or the control panel provided by your hosting service.
- Set the Spawn Point: By default, EssentialsX uses the server’s initial spawn point as the default spawn location. However, if you want to set a custom spawn point, use the
/setspawncommand. Stand at the desired spawn location and type/setspawn. This will make that location the new spawn point for all players. - Customize Spawn Area (Optional): You can further enhance the spawn area by building structures, adding signs with rules, information boards, or using other decorative elements to welcome and guide players.
After completing these steps, players will respawn at the custom spawn point you set using the EssentialsX plugin. The EssentialsX plugin offers a wide range of features and commands beyond just the spawn functionality, making it a popular choice for Minecraft server administrators seeking to improve their players’ experience. If you need help or want to explore the various features of the plugin, refer to the EssentialsX documentation or community forums for support and guidance.
Conclusion!
In conclusion, setting a spawn point in a Minecraft server is a crucial aspect of ensuring a smooth and enjoyable gaming experience for all players. By understanding the methods to establish a designated respawn location, server administrators can offer convenience, safety, and excitement to their community. The simplest method involves crafting a bed and sleeping in it, allowing players to set their spawn point at their chosen location. Beds provide a safe and convenient way to respawn, especially during nighttime or in dangerous areas For more control and customization, command blocks offer the flexibility to dictate precise coordinates for the spawn point. This method is particularly useful for map creators and server administrators looking to curate tailored gaming experiences.


