
In the vast and creative world of Minecraft, armor stands offer a unique way to showcase your collection of armor sets and add a personal touch to your virtual space. Whether you’re a seasoned player or just starting your Minecraft journey, knowing how to create an armor stand is a valuable skill.
An armor stand not only allows you to display your hard-earned armor but also adds a decorative element to your world. By following this step-by-step guide, you’ll learn the simple process of crafting an armor stand and discover the various customization options available to you.
To create an armor stand, you’ll need to gather the required materials, including six sticks and one smooth stone slab. Once you have these materials, the crafting process is straightforward. Placing and customizing the armor stand allows you to position it, add armor pieces, and even use name tags for a more personalized touch.
By mastering the art of creating and customizing armor stands, you can create impressive displays, build galleries, or even use redstone to animate them. Get ready to take your Minecraft experience to the next level as you learn how to make an armor stand and let your creativity shine!
1. Understanding the Importance of Armor Stands
Armor stands serve a crucial role in the world of Minecraft, offering both practical and aesthetic benefits to players. In this section, we will explore the significance of armor stands and why they are worth incorporating into your gameplay experience.
Organization and Storage
Armor stands provide an excellent means of organizing your vast collection of armor sets. Instead of cluttering your inventory or chests, you can neatly display and store your armor on stands. This makes it easier to access and swap between different sets when needed.
Showcasing Achievements
Armor stands offer a way to proudly display your hard-earned armor, signaling your accomplishments to other players. Whether it’s a set crafted from rare materials or enchanted gear obtained through challenging quests, displaying your achievements can inspire admiration and respect from fellow Minecraft enthusiasts.
Decorative Elements
Beyond their functional uses, armor stands can be a creative and aesthetic addition to your world. They allow you to add personalized touches and create visually appealing displays. Whether you’re designing an armor gallery, a showcase room, or a themed area, armor stands can enhance the overall atmosphere and make your world more immersive.
Role-Playing and Adventure
Armor stands can be used to enhance role-playing experiences and create immersive narratives within Minecraft. For example, you can set up armor stands to represent different characters or factions, adding depth to your storytelling. Additionally, when embarking on adventures or quests, armor stands can act as checkpoints or indicators of progress, making your gameplay more engaging.
Inspiration and Creativity
Armor stands provide a canvas for your imagination to flourish. They encourage creative thinking and allow you to experiment with various designs and arrangements. From showcasing themed armor sets to creating intricate displays, armor stands give you the freedom to express your creativity and share your unique vision with others.
2. Gathering the Required Materials
Before you can craft an armor stand in Minecraft, you need to gather the necessary materials. This section will guide you through the process of acquiring the required resources, ensuring that you are well-prepared to create your armor stand.
To create an armor stand, you will need the following materials:
Sticks:
You will require six sticks to construct the frame of the armor stand. Sticks can be easily obtained by breaking tree branches or by crafting them from wooden planks.
Smooth Stone Slab:
A smooth stone slab is necessary to form the base of the armor stand. To create a smooth stone slab, you need to smelt cobblestone in a furnace. Place cobblestone in the top slot of the furnace and wait for it to transform into smooth stone. Then, move the smooth stone to your inventory and craft it into a slab using the crafting table.
Once you have gathered six sticks and one smooth stone slab, you are ready to proceed to the crafting phase. Having these materials readily available will ensure a smooth and uninterrupted crafting process for your armor stand.
3. Crafting an Armor Stand
Now that you have gathered the required materials, it’s time to craft your very own armor stand in Minecraft. Follow the step-by-step instructions below to create this essential item for displaying and organizing your armor sets.
Open the Crafting Table:
Start by opening your crafting table. Right-click on the crafting table to access its interface.
Place the Materials:
In the crafting grid, arrange the materials as follows:
- Place three sticks in the bottom row.
- Put one stick in the center slot.
- Position the remaining two sticks in the top corners.
- Finally, place the smooth stone slab in the middle slot of the top row.
- The crafting grid should now have a pattern resembling the outline of an armor stand.
Retrieve the Armor Stand:
Once you have placed the materials in the correct pattern, the armor stand should appear in the result box of the crafting table. Drag it to your inventory to retrieve the armor stand item.
Congratulations! You have successfully crafted an armor stand in Minecraft. It’s now ready to be placed and customized according to your preferences.
Remember, if you need multiple armor stands, repeat the crafting process with the required materials. Having additional armor stands can be useful for creating larger displays or organizing multiple sets of armor.
4. Placing and Customizing Your Armor Stand
Now that you have crafted an armor stand, it’s time to place it in your Minecraft world and customize it to your liking. This section will guide you through the process of positioning the armor stand, adding armor pieces, utilizing pose and motion functions, and adding customization through the use of name tags.
Positioning the Armor Stand:
To place the armor stand, select it from your inventory and right-click on the desired location in your world. The armor stand will appear, standing upright and ready for customization.
You can adjust the position of the armor stand by right-clicking it again and dragging it to a new location. This allows you to find the perfect spot for showcasing your armor sets or integrating it into your Minecraft builds.
Adding Armor to the Stand:
To equip the armor stand with armor pieces, simply interact with the armor stand by right-clicking it while holding the desired armor piece in your hand. The armor stand has four slots to hold armor: one for the helmet, one for the chestplate, one for the leggings, and one for the boots. Place the corresponding armor piece in the appropriate slot, and it will appear on the armor stand.
You can switch or remove armor pieces by right-clicking the armor stand again and interacting with the slot containing the desired armor piece.
Utilizing Pose and Motion Functions:
Armor stands offer pose and motion functions that allow you to customize their appearance and create dynamic displays. Interact with the armor stand by right-clicking it while holding an empty hand to access these functions.
By right-clicking the armor stand repeatedly, you can cycle through various poses, such as crossing its arms or leaning forward. Experiment with different poses to find the one that best suits your display or build.
Additionally, you can make the armor stand rotate by using a redstone signal. Placing a redstone block adjacent to the armor stand will cause it to rotate continuously, adding movement and life to your display.
Adding Customization with Name Tags:
Name tags provide a way to add personalized labels or names to your armor stands. To use a name tag, rename it in an anvil and then interact with the armor stand by right-clicking it while holding the renamed name tag. The name tag’s text will appear above the armor stand, allowing you to label it according to its purpose or the armor set it represents.
This customization option is particularly useful when creating themed displays, showcasing achievements, or organizing your collection.
With the placement and customization options of your armor stand explored, you are now equipped to create stunning displays and organize your armor sets with style in Minecraft. In the next section, we will delve into creative ways to showcase your armor sets using armor stands.
5. Showcasing Armor Sets with Armor Stands
Now that you have learned how to craft and customize an armor stand, it’s time to explore creative ways to showcase your armor sets using these versatile tools. In this section, we will discuss various ideas and techniques for displaying your armor sets with style and creativity.
5.1 Displaying Armor Sets Creatively:
Instead of simply placing armor sets on armor stands, consider adding a touch of creativity to your displays. Here are a few ideas to get you started:
- Theme-based Displays: Create themed displays that match the aesthetic of the armor set. For example, arrange diamond armor with a nether-themed backdrop or display leather armor with a rustic farm setting.
- Color Coordination: Arrange armor sets in a visually appealing way by organizing them based on color. This can create a vibrant and eye-catching display.
- Storytelling Displays: Use armor stands to tell a story or recreate a scene from your Minecraft adventures. Arrange the armor stands in dynamic poses to depict epic battles or memorable moments.
5.2 Building Armor Stand Showrooms:
Take your armor displays to the next level by creating dedicated showrooms or galleries for your armor sets. Consider the following ideas:
- Build a Museum: Construct a grand museum or exhibition hall to showcase your armor sets. Add informational signs, lighting, and interactive elements to enhance the experience.
- Armor Stand Tiers: Create multi-level displays using platforms or different heights to showcase armor sets. This adds depth and visual interest to your showroom.
- Themed Display Rooms: Design individual rooms or areas within your world, each dedicated to a specific type of armor set. For example, create a room for medieval-themed armor and another for futuristic sets.
Remember to experiment with different arrangements, poses, and backdrops to find the most visually appealing and creative way to showcase your armor sets.
Now that you have a solid understanding of how to showcase your armor sets using armor stands, you can impress your friends, create immersive displays, and add a personalized touch to your Minecraft world. In the next section, we will explore advanced techniques and tips to further enhance your armor stand creations.
6. Advanced Techniques and Tips
Now that you have mastered the basics of crafting and customizing armor stands, let’s delve into some advanced techniques and tips to take your armor stand creations to the next level. These techniques will allow you to add more customization, interactivity, and uniqueness to your displays.
6.1 Using Redstone to Animate Armor Stands:
Redstone can be used to add movement and animation to your armor stands. Here’s how you can do it:
- Redstone Rotations: By placing redstone dust on top of a block adjacent to the armor stand and activating it with a redstone signal, you can make the armor stand rotate continuously. This creates a dynamic and eye-catching display.
- Pistons and Redstone Contraptions: Incorporate pistons and other redstone contraptions to create interactive displays. For example, you can use pistons to push armor stands forward or activate traps that reveal hidden armor sets.
Redstone-powered animation can bring life and excitement to your displays, making them more engaging and captivating.
Customizing with Commands:
Minecraft commands provide additional customization options for armor stands. Here are a few commands to try out:
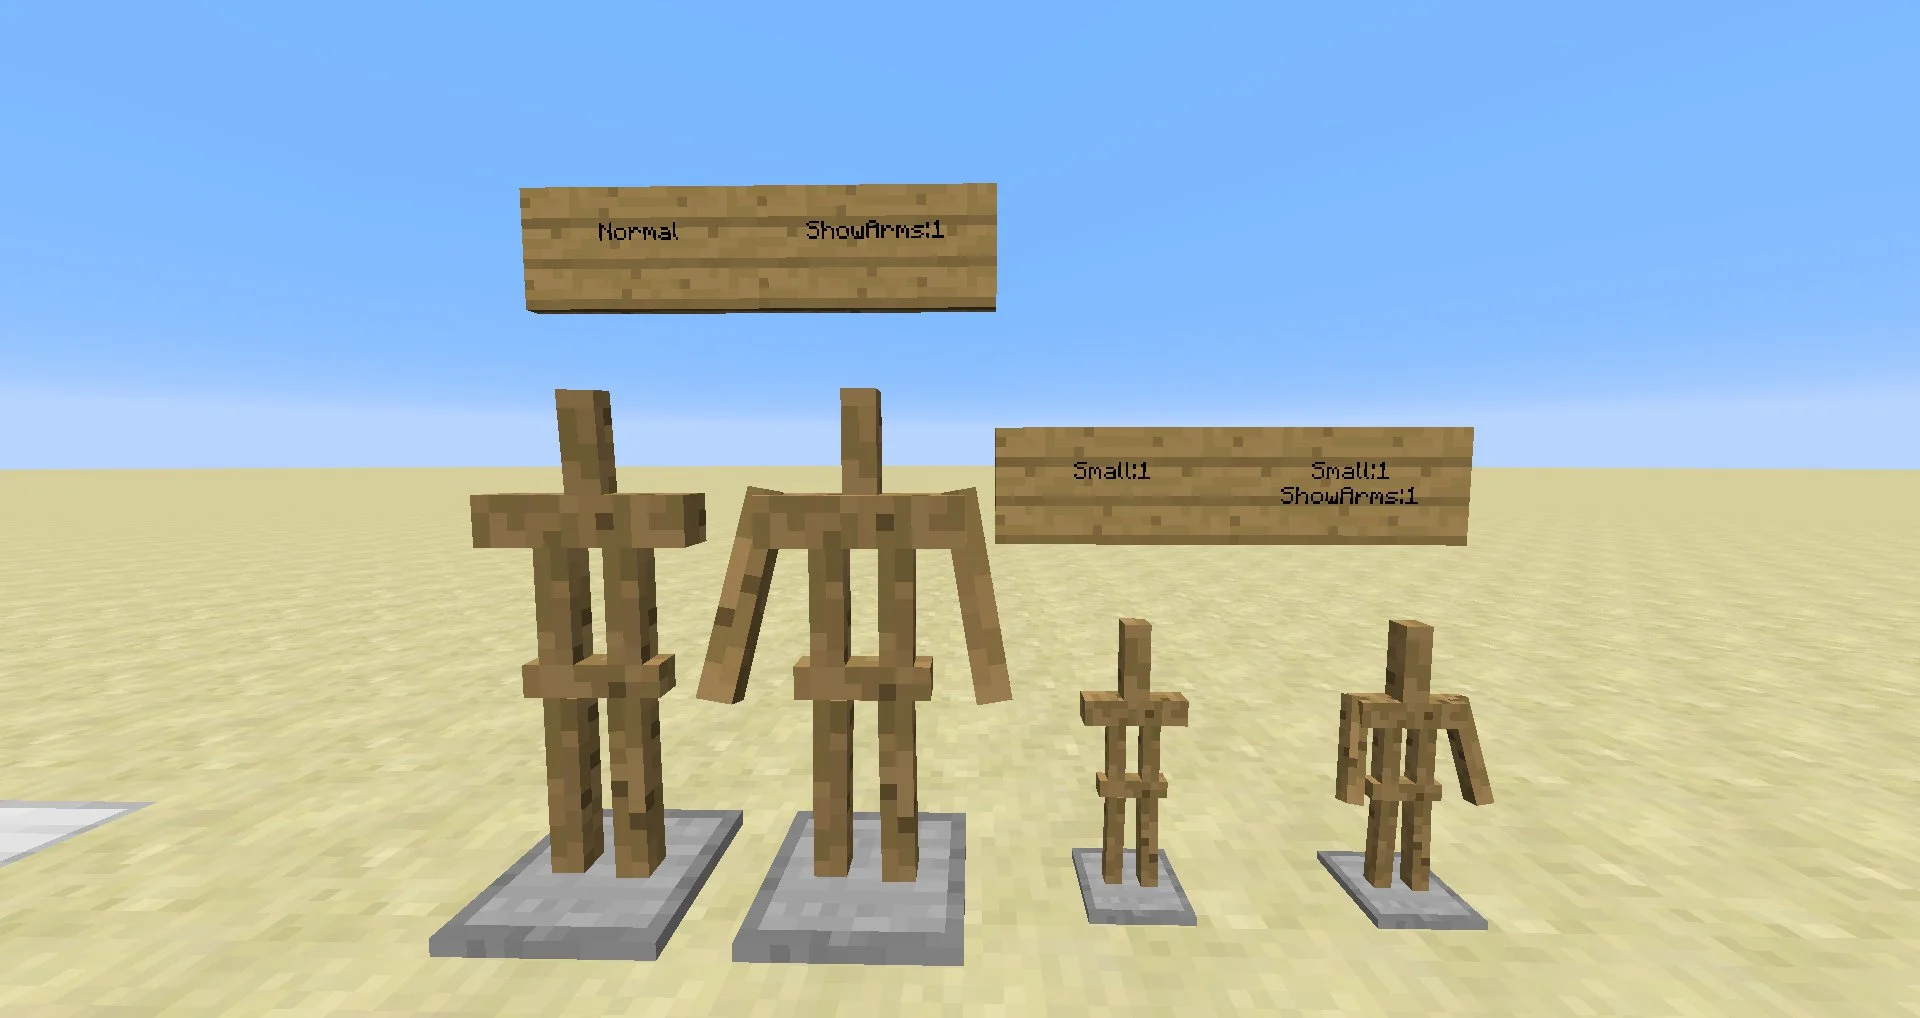
- /entitydata: Use this command to modify various attributes of the armor stand, such as its size, visibility, and pose.
- /summon: With this command, you can summon armor stands with custom properties, such as specific poses or equipment.
- /execute: Combine the execute command with other commands to create complex interactions and behaviors for your armor stands.
Utilizing commands gives you fine-grained control over the appearance and behavior of your armor stands, allowing for truly unique and customized displays.
Creating Unique Armor Stand Displays:
Let your creativity soar by thinking outside the box when it comes to armor stand displays. Consider these ideas:
- Sculptural Displays: Use armor stands to create sculptures or artistic arrangements. Experiment with different poses, angles, and compositions to create visually stunning displays.
- Themed Displays: Build themed areas or rooms dedicated to specific armor sets. Create immersive environments that complement the style and theme of the armor.
- Storytelling Displays: Arrange armor stands to tell a story or depict a scene. Combine poses, name tags, and props to bring your narrative to life.
Unleash your imagination and experiment with unconventional ideas to create armor stand displays that stand out and leave a lasting impression.
Troubleshooting and Maintenance:
Occasionally, you may encounter issues or need to perform maintenance on your armor stands. Here are some troubleshooting tips:
- Invisible Armor Stands: If an armor stand becomes invisible, try breaking and replacing it. Alternatively, you can use the /entitydata command to reset its properties.
- Stability Issues: To prevent armor stands from falling or behaving erratically, ensure they have a solid base and are not obstructed by other blocks.
Regularly check your armor stands to ensure they are functioning as intended and make any necessary adjustments to maintain their appearance and stability.
By utilizing these advanced techniques and tips, you can elevate your armor stand displays to new heights of creativity and interactivity. Let your imagination run wild as you create truly unique and captivating showcases in your Minecraft world.
In Conclusion
Creating and customizing armor stands in Minecraft opens up a world of possibilities for displaying and organizing your armor sets. Throughout this guide, we have explored the importance of armor stands, the process of gathering materials, crafting the stands, and placing them in your world. We have also discussed advanced techniques such as using redstone for animation, utilizing commands for customization, and creating unique displays.
Armor stands not only serve a functional purpose but also allow you to express your creativity and showcase your accomplishments in the game. Whether you choose to create themed displays, build elaborate showrooms, or incorporate interactive elements, the possibilities are endless.


