
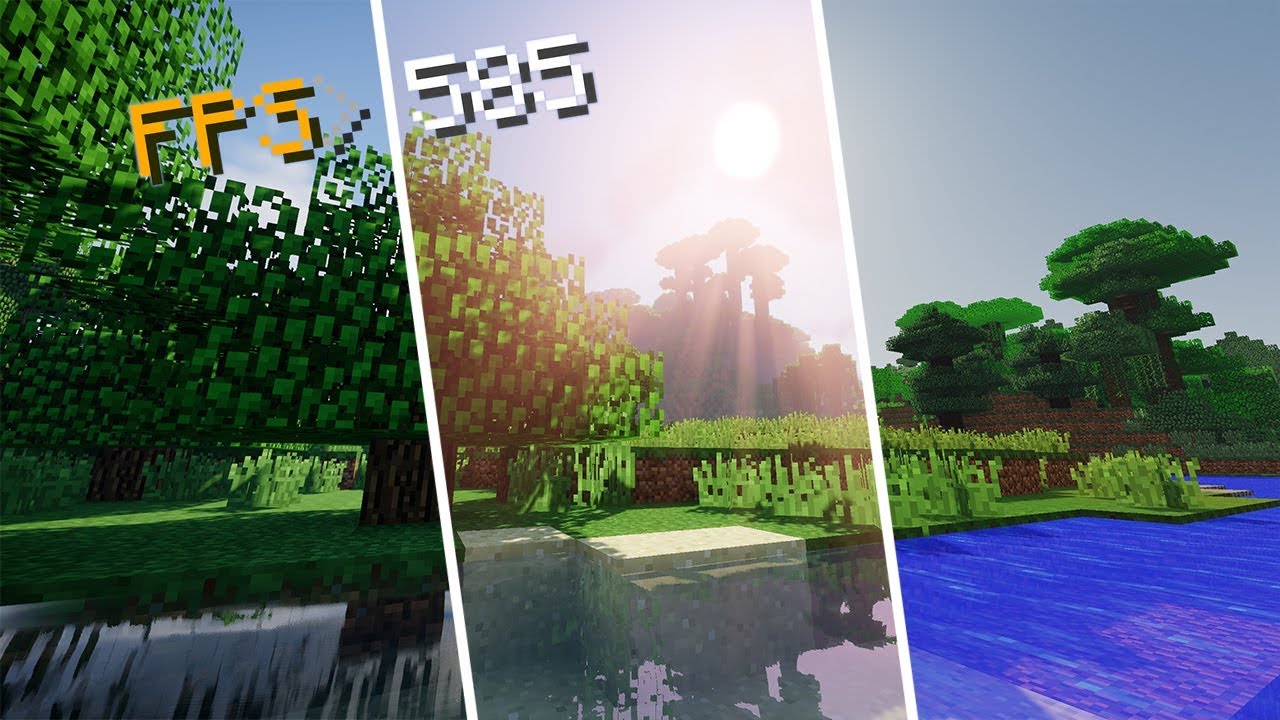
Minecraft, the immensely popular sandbox game, has captivated players with its charming pixelated world and endless possibilities for creativity and exploration. While the game’s default visuals are iconic and nostalgic, some players yearn for a more immersive and visually stunning experience. This desire has led to the development of shaders, which are graphical enhancements that add realistic lighting, shadows, and other effects to Minecraft’s blocky landscapes. In this guide, we will delve into the fascinating world of Minecraft shaders and walk you through the process of installing them, allowing you to transform your Minecraft experience into something truly breathtaking.
Shaders are modifications that utilize the power of Minecraft’s shader programming language, allowing players to apply a wide range of visual enhancements to the game. From dynamic lighting and realistic water reflections to improved weather effects and atmospheric fog, shaders can elevate Minecraft’s aesthetics to a whole new level, making it feel more immersive and visually appealing.
To install shaders, you will need to follow a few simple steps. First and foremost, ensure that you have an updated version of Minecraft installed on your computer. Next, you’ll need to download and install a compatible shader pack. There are numerous shader packs available, each offering a unique visual style and set of effects. It’s essential to choose a shader pack that suits your preferences and computer’s capabilities to ensure optimal performance.
Once you have obtained a shader pack, the installation process can vary depending on your operating system. However, it typically involves locating the Minecraft installation folder, creating a “shaders” folder, and placing the shader pack files into this designated folder. It’s worth noting that some shader packs may have additional requirements or dependencies, such as the installation of specific mods or graphics drivers. These instructions are often provided by the shader pack’s developer and should be followed accordingly.
In conclusion, installing shaders in Minecraft can greatly enhance your gaming experience by introducing stunning visual effects and atmospheric realism to the game. By following the steps outlined in this guide and exploring different shader packs, you’ll be able to personalize your Minecraft world and embark on a visually captivating adventure. So, grab your pickaxe, gather your resources, and get ready to witness the beauty of Minecraft like never before.
What are the Shaders in Minecraft?
Shaders in Minecraft are modifications or add-ons that enhance the game’s graphics and visual effects. They are designed to alter the rendering pipeline of Minecraft, allowing for more advanced lighting, shading, and atmospheric effects. By utilizing the power of Minecraft’s shader programming language, these modifications can transform the game’s blocky landscapes into stunningly realistic and immersive environments.
Shaders introduce a wide range of visual enhancements to Minecraft, including :
- Lighting and Shadows : Shaders can dynamically simulate lighting conditions, creating realistic shadows that change based on the position of the sun or other light sources. This adds depth and realism to the game’s environments.
- Reflections and Refractions: Shaders can introduce reflections on surfaces like water, glass, and metallic objects, accurately mirroring the surrounding environment. They can also create refraction effects, bending and distorting light as it passes through transparent materials.
- Weather Effects : Shaders can enhance weather phenomena such as rain, snow, and fog. Raindrops can drip down surfaces realistically, snowflakes can fall and accumulate, and fog can add an atmospheric touch to the game’s landscapes.
- Textures and Materials : Shaders can improve the appearance of textures, making them more detailed and realistic. They can also introduce various material effects, such as bump mapping, specular highlights, and parallax occlusion mapping, which give surfaces a more tactile and three-dimensional quality.
- Ambient Occlusion : Shaders can simulate ambient occlusion, a technique that adds subtle shading in crevices and corners, making objects appear more grounded and realistic.
- Motion Blur and Depth of Field: Shaders can introduce motion blur, simulating the blurring effect caused by fast movements. They can also add depth of field effects, selectively blurring objects in the background or foreground to simulate focus.
These are just a few examples of the visual enhancements that shaders can bring to Minecraft. Different shader packs offer varying levels of realism and visual styles, allowing players to customize their Minecraft experience according to their preferences. Whether you seek a more vibrant and colorful world or a gritty and atmospheric setting, shaders can transform Minecraft into a visually stunning and captivating game.
How to Turn on Shaders in Minecraft
To turn on shaders in Minecraft, you need to follow these steps :
- Ensure you have a compatible shader pack : Before you can turn on shaders, you need to have a shader pack installed. There are numerous shader packs available online, so choose one that suits your preferences and is compatible with your version of Minecraft.
- Install OptiFine : OptiFine is a mod for Minecraft that enhances performance and provides additional features, including support for shaders. Visit the official OptiFine website and download the version that matches your Minecraft version. Install OptiFine by double-clicking the downloaded file and following the on-screen instructions.
- Launch Minecraft with OptiFine: After installing OptiFine, launch the Minecraft Launcher. In the Launch Options tab, locate the version of Minecraft that has OptiFine installed. If it’s not already listed, create a new profile and select the OptiFine version.
- Adjust video settings : In the Minecraft Launcher, click on “Installations” and locate the OptiFine profile you created. Click on the three dots (…) to open the profile settings. In the settings, navigate to the “Video Settings” section. Ensure that the graphics settings are set to at least “Fancy” or “Fabulous” to enable shaders.
- Open shader options: While in-game, go to the main menu and select “Options.” From there, choose “Video Settings” and then “Shaders.” This will open the shader options menu.
- Select and apply a shader pack : In the shader options menu, click on the “Shaders Folder” button. This will open the shaders folder on your computer. Locate the shader pack you downloaded earlier and move it into the shaders folder. Close the folder and return to the shader options menu.
- Enable the shader pack : In the shader options menu, you should see a list of available shader packs. Select the shader pack you want to use and click the “Done” button. The shader pack will be applied, and you can see the changes in the game’s visuals.
Remember that enabling shaders can have an impact on your computer’s performance, so if you experience any lag or performance issues, you may need to adjust the shader settings or use a less resource-intensive shader pack.
That’s it! You have successfully turned on shaders in Minecraft. Enjoy the enhanced visuals and immerse yourself in a more realistic and visually stunning Minecraft world.
What does Shaders in Minecraft?
In Minecraft, shaders are modifications that enhance the game’s graphics and visual effects, providing a more immersive and visually appealing experience. Shaders work by altering the rendering process of Minecraft, introducing advanced techniques for lighting, shading, and atmospheric effects.
Shaders in Minecraft can bring several visual enhancements, including :
- Lighting and Shadows : Shaders create realistic lighting effects, with dynamic shadows that change based on the position of light sources like the sun or torches. This adds depth and realism to the game’s environments.
- Reflections and Refractions : Shaders simulate reflections on surfaces like water, glass, or shiny objects, accurately reflecting the surrounding environment. They can also simulate refraction, where light bends as it passes through transparent materials, producing visually stunning effects.
- Atmospheric Effects : Shaders can enhance weather conditions such as rain, snow, fog, and even sunsets or sunrises. They add depth and realism to the atmosphere, making the environment feel more immersive and dynamic.
- Textures and Materials : Shaders improve the appearance of textures in Minecraft, making them more detailed and realistic. They can add depth to textures, simulate different materials like metal or wood, and enhance the overall visual quality of blocks and objects.
- Post-Processing Effects : Shaders can apply post-processing effects like motion blur, depth of field, and color correction to enhance the overall visual aesthetics and create a more cinematic feel.
- Ambient Occlusion : Shaders simulate ambient occlusion, which adds subtle shading in corners and crevices, giving objects a more realistic and grounded look.
Shaders in Minecraft allow players to customize the visual style and atmosphere of their game, providing a more immersive and visually appealing experience. They can transform the blocky world of Minecraft into a stunning and realistic environment, showcasing the creative potential of shaders and enhancing the overall gameplay enjoyment.
The advantage of Shaders in Minecraft
Shaders in Minecraft offer several advantages and benefits, enhancing the overall gameplay experience. Some of the key advantages of using shaders in Minecraft include:
- Visual Realism : Shaders significantly improve the graphics and visual fidelity of Minecraft, making the game world more realistic and immersive. They introduce advanced lighting, shadows, reflections, and atmospheric effects, bringing the game’s environments to life and making them visually stunning.
- Enhanced Immersion : With shaders, Minecraft becomes more immersive as the visuals become more detailed and atmospheric. The realistic lighting and shadows create a sense of depth and realism, while the weather effects and ambient occlusion make the game world feel more vibrant and alive.
- Personalization and Customization : Shaders allow players to customize their Minecraft experience according to their preferences. There are various shader packs available, each offering unique visual styles and effects. Players can choose the shader pack that suits their taste, whether they prefer a vibrant and colorful world, a gritty and realistic atmosphere, or any other visual style.
- Cinematic and Artistic Potential : Shaders in Minecraft unlock new creative possibilities, allowing players to create stunning cinematic scenes and capture breathtaking screenshots. The post-processing effects, such as motion blur and depth of field, can be utilized to add cinematic flair to in-game videos and images.
- Aesthetics and Beauty : Shaders enhance the overall aesthetics of Minecraft, making it visually appealing and pleasing to the eye. The improved textures, lighting effects, and atmospheric enhancements transform the blocky world into a visually captivating and beautiful environment.
- Showcase Building and Design : Shaders can elevate the visual impact of player-built structures and designs. By applying shaders, buildings and creations become even more impressive, with enhanced lighting and shading that accentuate the details and architectural elements.
It’s important to note that while shaders offer numerous advantages, they can also be resource-intensive and impact game performance. Players may need a capable computer system to run shaders smoothly, and some shader packs may require specific hardware specifications. It’s recommended to check the compatibility and performance requirements of shader packs before installation.
In conclusion, shaders in Minecraft provide a range of advantages, from visual realism and enhanced immersion to personalization and creative potential. They elevate the overall aesthetics of the game, allowing players to explore a more visually stunning and captivating Minecraft world.
Conclusion!
In conclusion, installing Minecraft shaders is a process that allows players to enhance their gaming experience by introducing stunning visual effects and atmospheric realism to the game. By following a few simple steps, players can transform the blocky world of Minecraft into a visually captivating and immersive environment.To install shaders, players need to ensure they have an updated version of Minecraft installed on their computer.


