
In the boundless and pixelated world of Minecraft, players have continuously pushed the boundaries of imagination and creativity. Among the myriad of engineering marvels that can be achieved within the game, one of the most fascinating and functional creations is the Bubble Elevator. This ingenious invention allows players to effortlessly travel vertically through water, utilizing the unique physics of Minecraft’s water mechanics. In this guide, we will delve into the enchanting realm of Minecraft engineering to unlock the secrets behind crafting your very own Bubble Elevator.
At its core, a Bubble Elevator takes advantage of water columns, which generate streams of upward-flowing bubbles. These bubbles create a buoyant force that lifts players as they stand in the water column, effectively elevating them to higher levels. To harness this phenomenon, players need to grasp the physics behind water mechanics in Minecraft, including bubble columns, soul sand, and magma blocks.
Before embarking on this enchanting project, resource gathering is essential. Players will need to procure specific materials, such as soul sand, magma blocks, and glass blocks, which form the foundation of the Bubble Elevator. Additionally, slime blocks, sticky pistons, and water source blocks will be required to ensure a seamless and functional elevator.
Creating a functional Bubble Elevator necessitates careful planning and designing. Players can opt for various elevator configurations, such as single-tube, dual-tube, or spiral designs, depending on their preferences and requirements. Additionally, implementing redstone circuitry with sticky pistons and slime blocks is crucial to create a smooth and seamless experience.
With a well-thought-out design in hand, it’s time to bring the Bubble Elevator to life. Assembling the elevator block by block, ensuring water sources are correctly placed, and positioning the bubble columns with soul sand and magma blocks are crucial steps in the construction process. Players must follow the design carefully to avoid any missteps and to achieve a fully functional elevator.
After assembling the Bubble Elevator, players may encounter some minor issues, such as uneven water flow or misaligned bubble columns. This section provides troubleshooting tips and suggestions to fine-tune the elevator’s performance, ensuring a seamless experience for all users.
Crafting a Bubble Elevator in Minecraft not only showcases the boundless creativity of players but also demonstrates the intricate understanding of the game’s mechanics. The result is a magnificent creation that not only looks captivating but also serves as a functional and efficient vertical transportation system within the enchanting world of Minecraft. So, venture forth, engineer your wonder, and elevate your gaming experience with the magical Bubble Elevator. Happy crafting!
What is A Bubble Elevator In Minecraft?
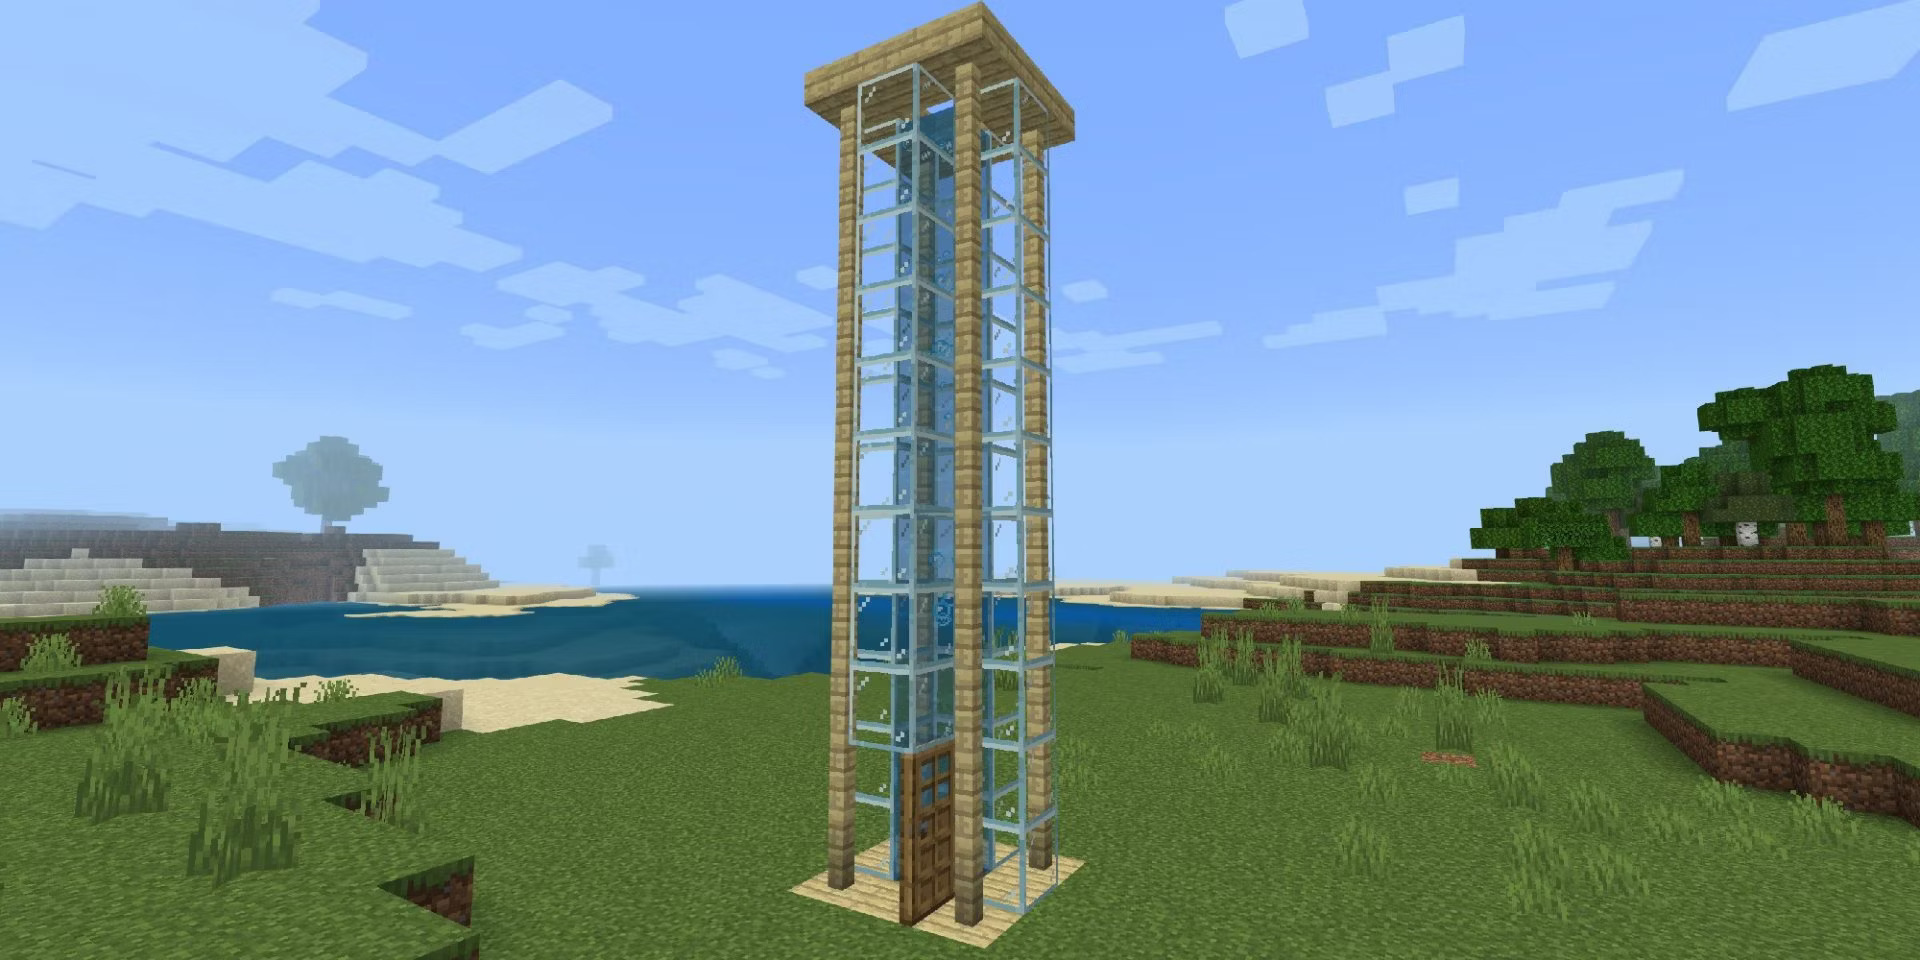
A Bubble Elevator in Minecraft is a unique and creative vertical transportation system that utilizes the game’s water mechanics to lift players upwards without the need for traditional methods like ladders or stairs. It relies on the generation of upward-flowing bubbles within water columns to achieve its functionality. When a player stands in the water column, the upward-flowing bubbles create a buoyant force that lifts them upward, effectively acting as an elevator.
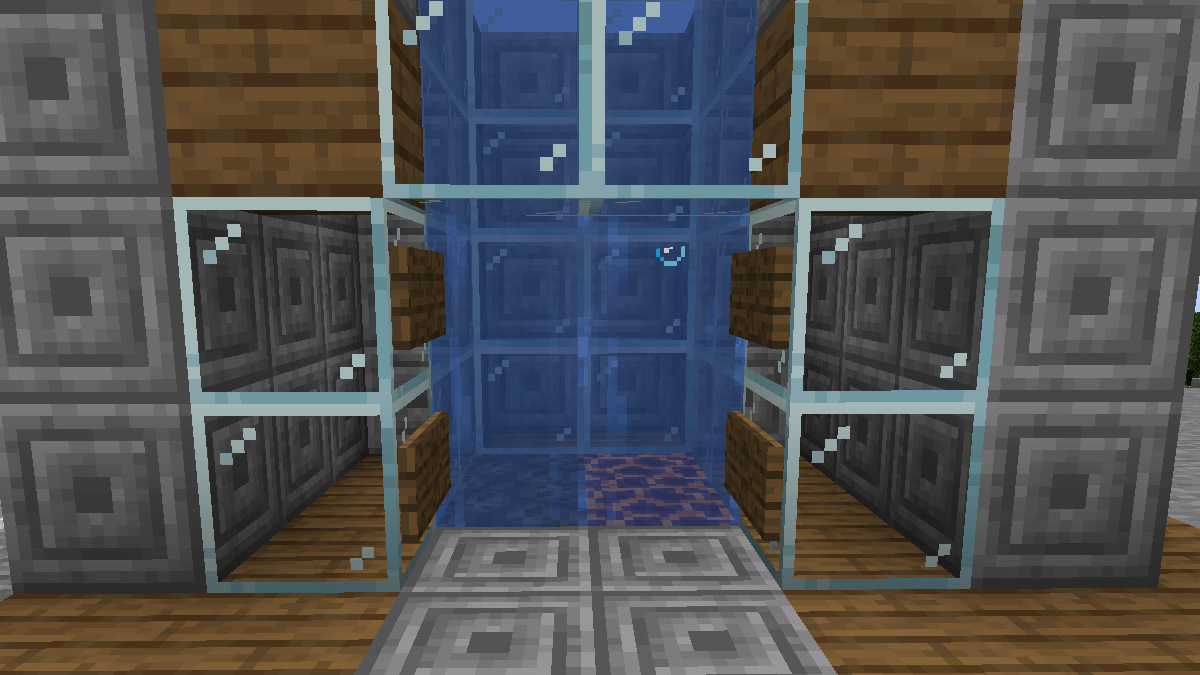
To construct a Bubble Elevator, players use specific blocks with different properties. The two main blocks involved are soul sand and magma blocks. Soul sand generates bubble columns when water source blocks are placed above it, and magma blocks generate bubble columns when placed underwater. When a player stands in the generated bubble column, they are pushed upward.
The basic process of building a Bubble Elevator involves placing a column of water source blocks above either soul sand or magma blocks, depending on the desired design. The soul sand will generate bubbles, and the player can ascend by standing in the column of bubbles. To descend, players can simply swim downward through the water.
Bubble Elevators offer a visually appealing and magical means of vertical transportation within the game. They are commonly used in Minecraft structures, such as towers, skyscrapers, underwater bases, and any other structures where players need to move vertically.
Players can get creative with their Bubble Elevator designs, adding features like redstone circuitry and pistons to create more complex and automated elevator systems. Different configurations, such as single-tube or dual-tube designs, allow for versatility and customization in various Minecraft projects.
Overall, Bubble Elevators are a fun and innovative way for players to traverse vertical distances in the world of Minecraft, adding both functionality and aesthetic appeal to their builds.
Where to Find Bubble Elevator In Minecraft?
Bubble Elevators in Minecraft can be created by players themselves using specific blocks and water mechanics. They are not naturally generated structures in the game but are player-built contraptions designed to provide vertical transportation.
To find or experience a Bubble Elevator in Minecraft, you can do any of the following:
- Create one yourself: As mentioned earlier, Bubble Elevators are player-built structures. You can build one in your world by gathering the necessary materials like soul sand, magma blocks, glass, and water source blocks. Follow a tutorial or guide to construct your own Bubble Elevator.
- Download custom maps: Some custom Minecraft maps or worlds created by the community may include pre-built structures, including Bubble Elevators. You can explore and play these maps to discover Bubble Elevators made by other players.
- Join multiplayer servers: In multiplayer servers, you may come across various player-built structures, including Bubble Elevators, depending on the specific server’s setup and theme. Many servers have creative communities that build impressive structures for others to enjoy.
- Adventure maps: Some adventure maps or custom modded maps may include Bubble Elevators as part of their gameplay or challenges. These maps often introduce unique mechanics and structures for players to explore.
- YouTube or streaming platforms: You can watch Minecraft videos on platforms like YouTube or Twitch, where players showcase their creations, including Bubble Elevators. By watching these videos, you can learn how to build one yourself or simply enjoy the creativity of other players.
Remember that the availability of Bubble Elevators largely depends on the Minecraft world or server you are playing in and the creativity of the players within that community. If you’re playing in a survival mode world, you’ll need to gather the materials and build one yourself. In creative mode or custom maps, you might find pre-built Bubble Elevators to explore and use.
Required Materials to Bubble Elevator in Minecraft
To build a basic Bubble Elevator in Minecraft, you will need the following materials:
- Soul Sand: Soul sand is the primary block used to create upward bubble columns. It can be found in the Nether biome, often in large patches on the ground.
- Magma Block: Magma blocks also generate upward bubble columns, similar to soul sand. They can be found in the Nether, usually near lava lakes or at the bottom of the Nether.
- Water Source Blocks: You’ll need a water source block to create the flowing water that interacts with soul sand or magma blocks to generate the bubble columns. You can obtain water source blocks by using a bucket to pick up water from a lake or ocean.
- Glass Blocks: Glass blocks are used to encase the water and contain the bubble elevator. They can be obtained by smelting sand in a furnace.
- Building Blocks: You’ll need various building blocks of your choice to construct the actual elevator structure. Common blocks used include stone, wood, or any other material suitable for your desired design.
Optional materials for more advanced designs:
- Slime Blocks: Slime blocks can be used in redstone-powered Bubble Elevators for more intricate and automated designs.
- Sticky Pistons: Sticky pistons can be used with slime blocks for redstone-powered elevators to create a seamless moving platform.
- Redstone Dust: Redstone dust is essential if you want to add redstone automation to your Bubble Elevator.
- Redstone Torch or Redstone Repeater: These redstone components are useful for creating redstone circuits to power the elevators.
Keep in mind that the specific design and complexity of your Bubble Elevator may require additional materials beyond the basic ones listed above. You can customize your elevator to fit your aesthetic preferences and functional requirements.
Once you have gathered the necessary materials, you can start building your Bubble Elevator to effortlessly travel through the water with the help of enchanting bubble columns!
Building Elevators
Building elevators in real-life construction involves complex engineering and adherence to safety regulations. While I can’t provide a comprehensive guide for real-world elevators, I can offer a general overview of the process:
- Feasibility Study: Before starting the construction of an elevator, conduct a feasibility study to assess the requirements, purpose, and budget of the project. Consider factors like building height, traffic demands, and the type of elevator needed (e.g., passenger elevator, freight elevator, etc.).
- Design and Planning: Work with architects and structural engineers to create a detailed elevator design that complies with local building codes and safety standards. Plan the elevator’s location, size, capacity, and travel speed.
- Obtain Permits: Obtain the necessary permits and approvals from local authorities before beginning the construction process.
- Shaft Construction: Construct the elevator shaft, which will house the elevator car and guide rails. The shaft must be structurally sound and capable of supporting the weight of the elevator.
- Elevator Car Assembly: Assemble the elevator car and ensure it meets safety standards and regulations. Install safety features, such as emergency brakes, sensors, and interlocks.
- Guide Rails Installation: Install the guide rails inside the shaft, which the elevator car will travel along.
- Drive System Installation: Install the elevator’s drive system, which includes the motor, gearbox, and pulleys to move the elevator car up and down.
- Control System Integration: Integrate the elevator’s control system, which manages the car’s movement, floor selection, and safety features.
- Safety Inspections: Prior to operation, conduct thorough safety inspections to ensure the elevator meets all safety requirements and performance standards.
- Testing and Commissioning: Test the elevator’s functionality and perform load tests to ensure it can handle the expected passenger or freight capacity. Once everything is in order, commission the elevator for regular use.
- Maintenance and Inspections: Regularly maintain and inspect the elevator to ensure its safe and efficient operation throughout its lifespan.
It’s important to note that building elevators requires professional expertise and compliance with local building codes and regulations. As such, it’s crucial to work with qualified contractors and engineers throughout the entire construction process.
Conclusion!
In conclusion, crafting a Bubble Elevator in Minecraft is a fascinating and rewarding venture that allows players to explore the ingenious world of water mechanics within the game. By understanding the physics of bubble columns, players can create a magical vertical transportation system that effortlessly lifts them to higher levels using the buoyant force of upward-flowing bubbles. To embark on this enchanting project, players must gather the necessary materials, such as soul sand, magma blocks, glass, and water source blocks. Armed with these resources, they can design and construct their Bubble Elevator, choosing from various configurations to suit their preferences and building needs. The creation process involves careful planning, attention to detail, and the option to incorporate redstone circuitry and pistons for added functionality and automation.


